File manager
Kuroco's file manager enables you to upload and manage various files, including images, text, and videos for your website.
Access the file manager by clicking [File Manager] in the sidebar menu.
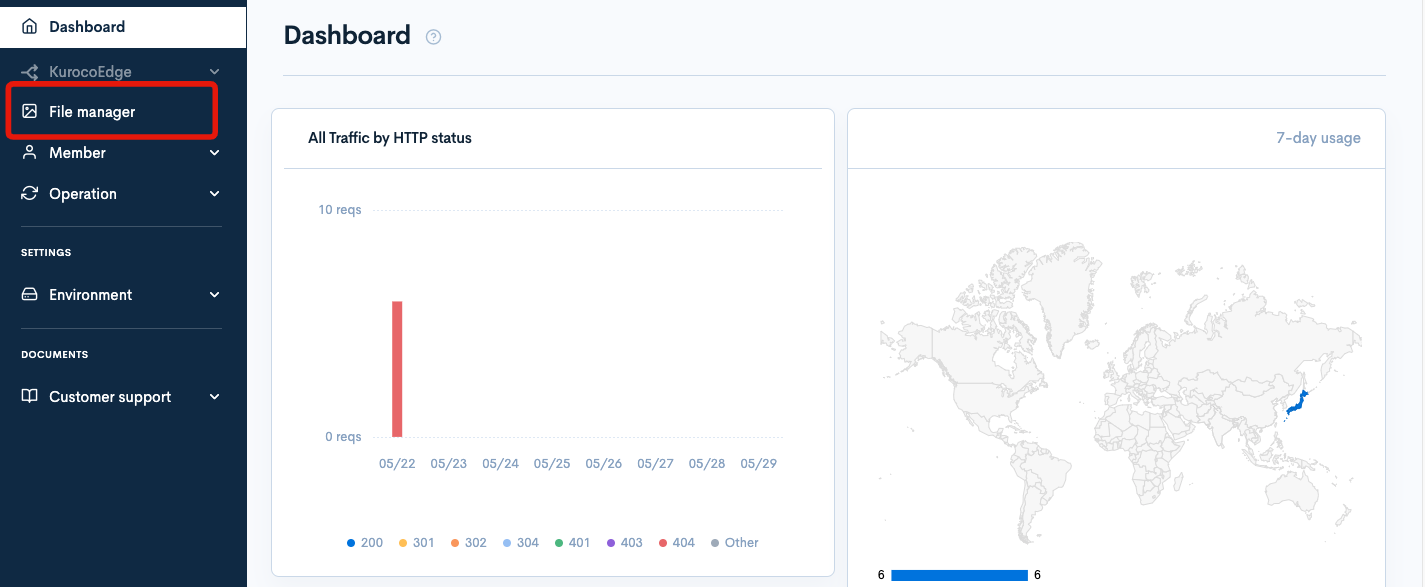
File manager screen
Overview
This section provides a brief overview of the functions available in the file manager.
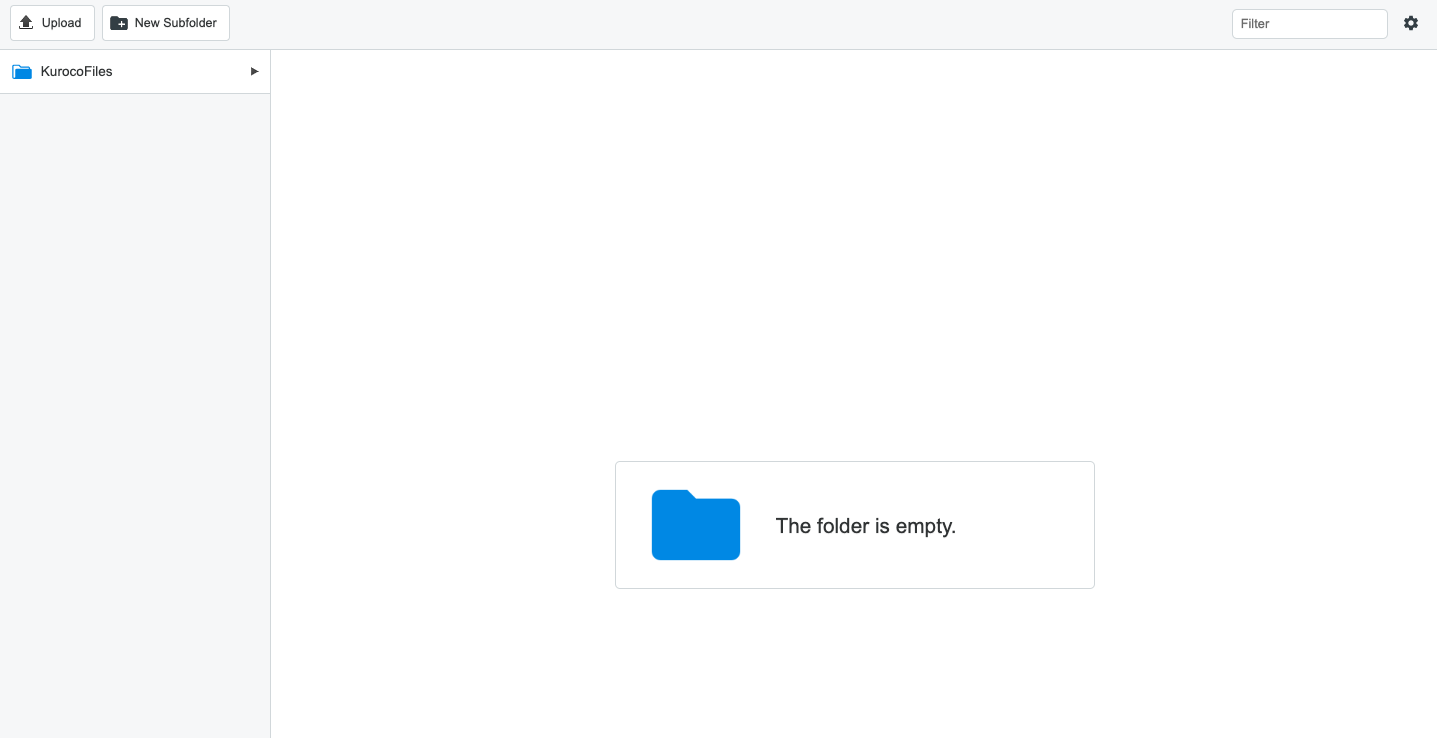
1. Upload
To upload new files, click the [Upload] button.
Multiple files can be uploaded at a time. The upload process will start once you have selected the desired file(s).
Uploaded images will appear as thumbnails, while other file types are displayed as icons.

2. New subfolder
Click the [New Subfolder] button to create a new subfolder.
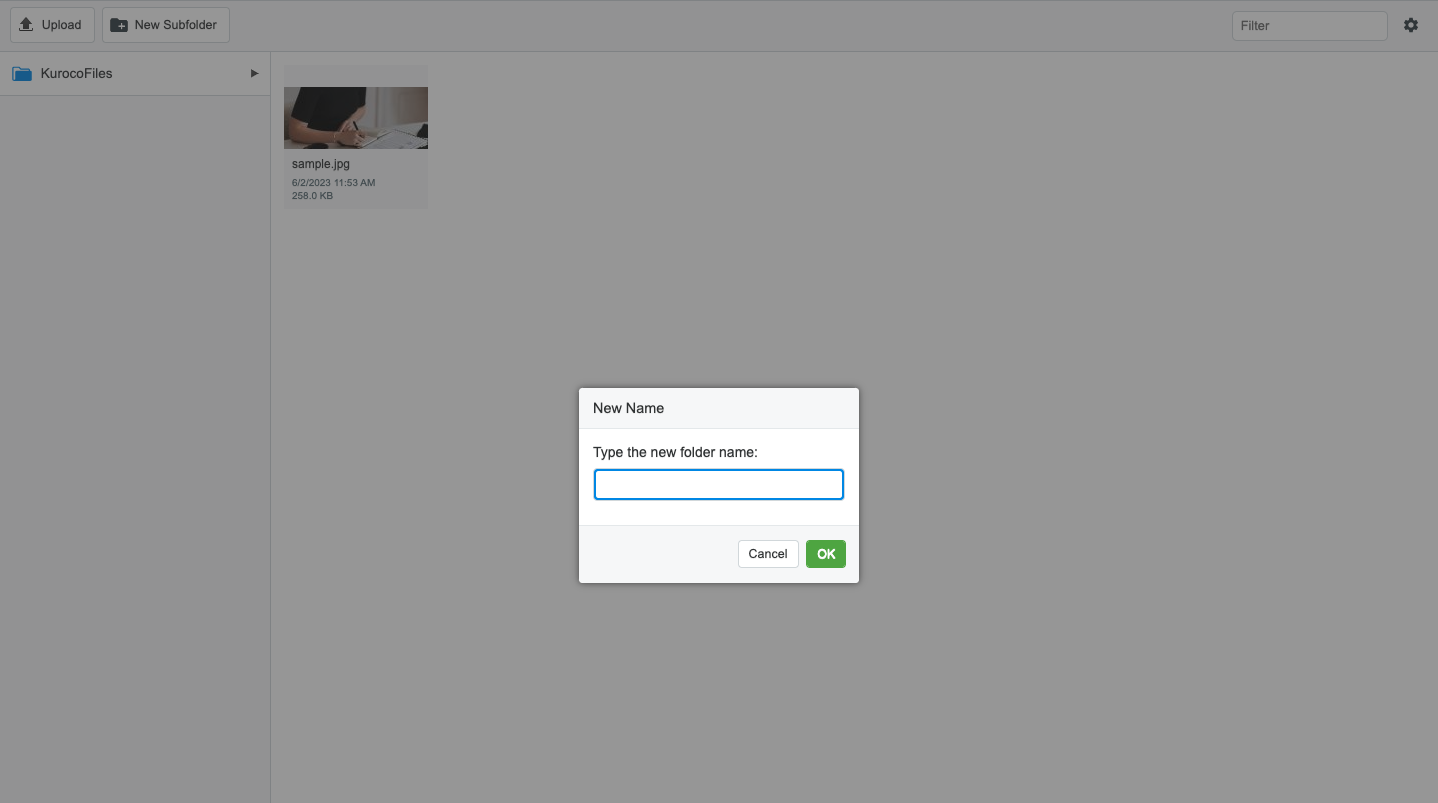
The new subfolder will be listed in the left sidebar.

3. Filter
Only files matching the filter criteria will be displayed.

4. Display settings
Click the settings/gear icon to customize the file list display.
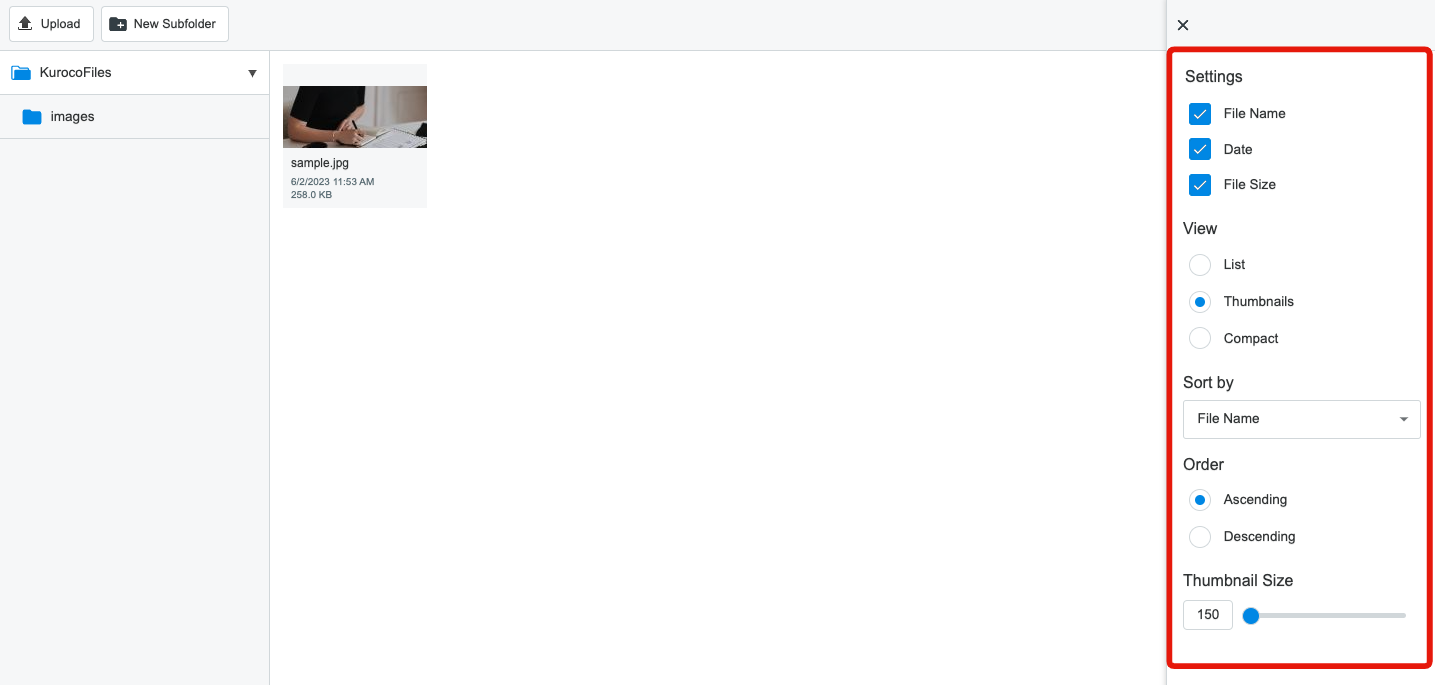
| Field | Description |
|---|---|
| Settings | Display or hide the file name, timestamp, and file size. |
| View | Switch between list, thumbnail, or compact (icon) view. |
| Sort by | Sort by file name, file size, or date and time. |
| Order | Display in ascending or descending order based on the selected "Sort by" criterion. |
| Thumbnail size | Select the icon/thumbnail size (150-500 px). |
5. Folder list
A tree view of the existing folders is displayed here.
KurocoFiles is the folder available by default.

6. File list
The list of files of the selected folder will be displayed. The file list displayed can be customized using 4. Display settings.

Selected folder actions
Selecting a folder in the folder list changes the toolbar at the top:
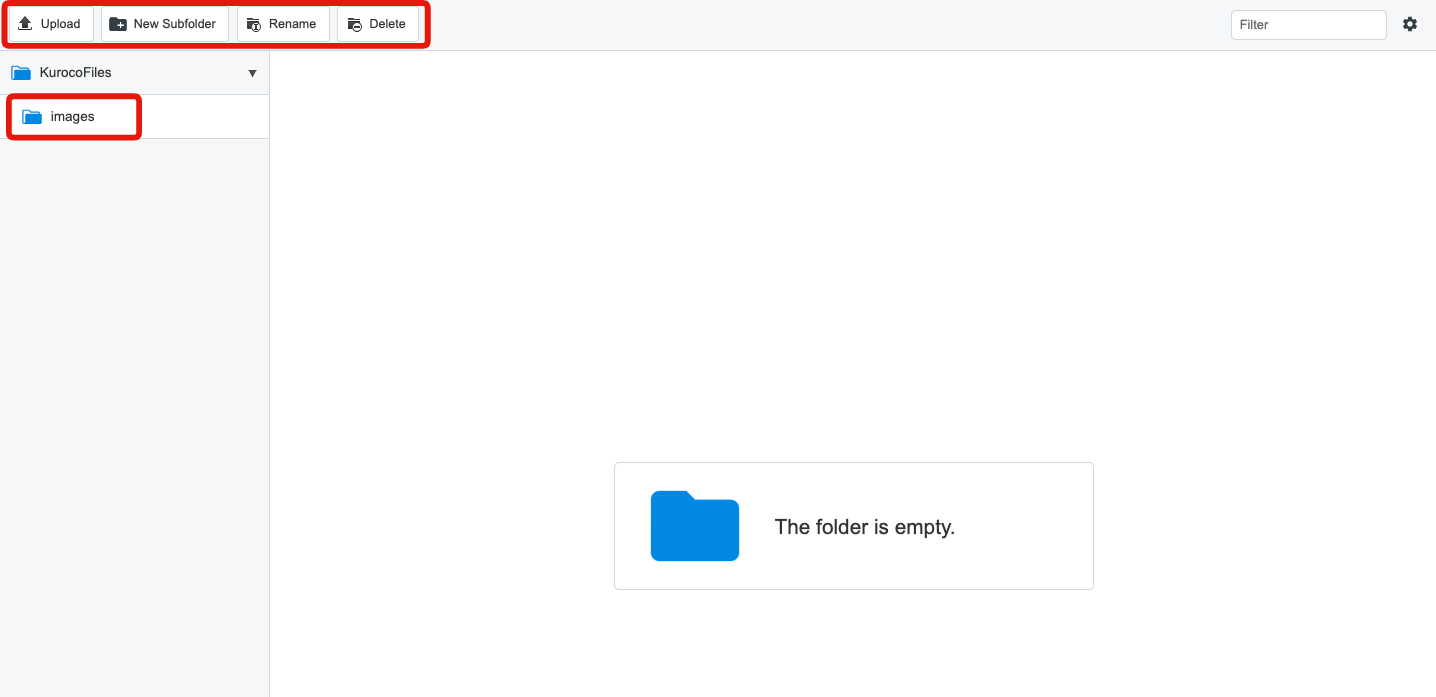
Note: You cannot rename or delete the default KurocoFiles folder.
1. Upload
Upload files to the selected folder.
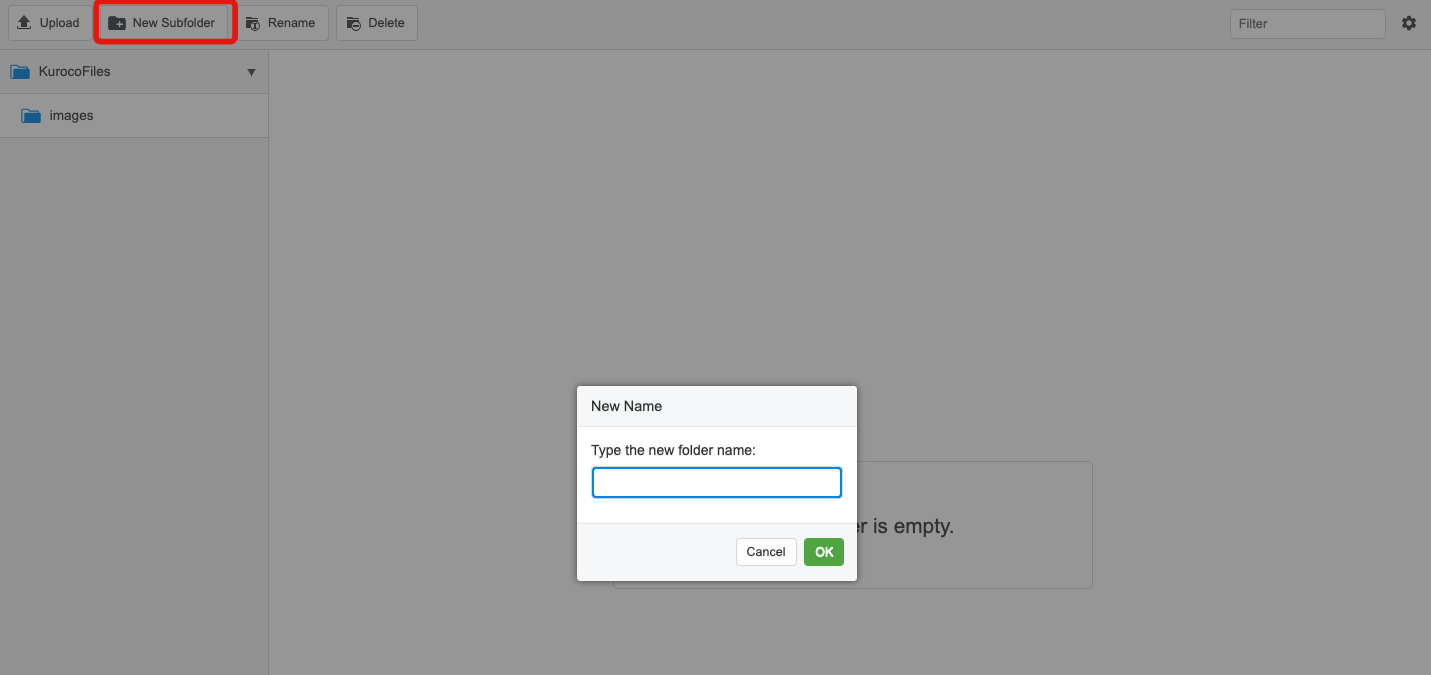
2. New subfolder
Create new subfolders in the selected folder.
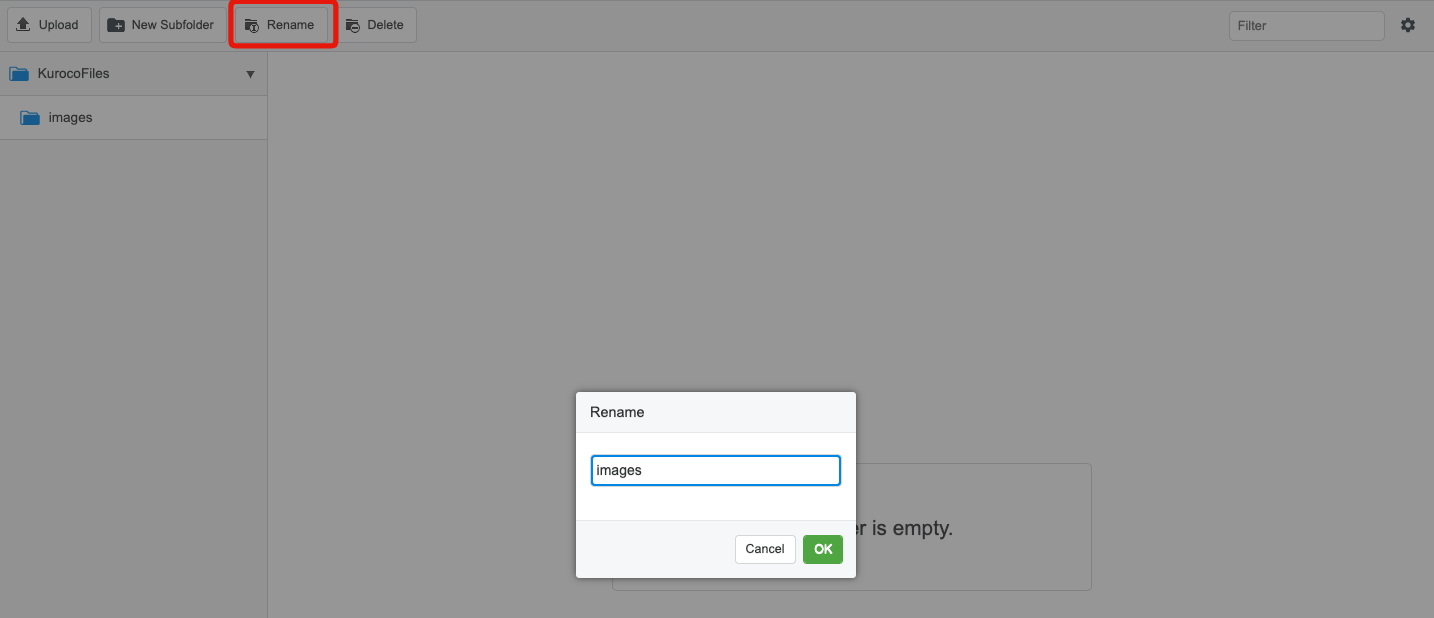
3. Rename
Change the folder name.
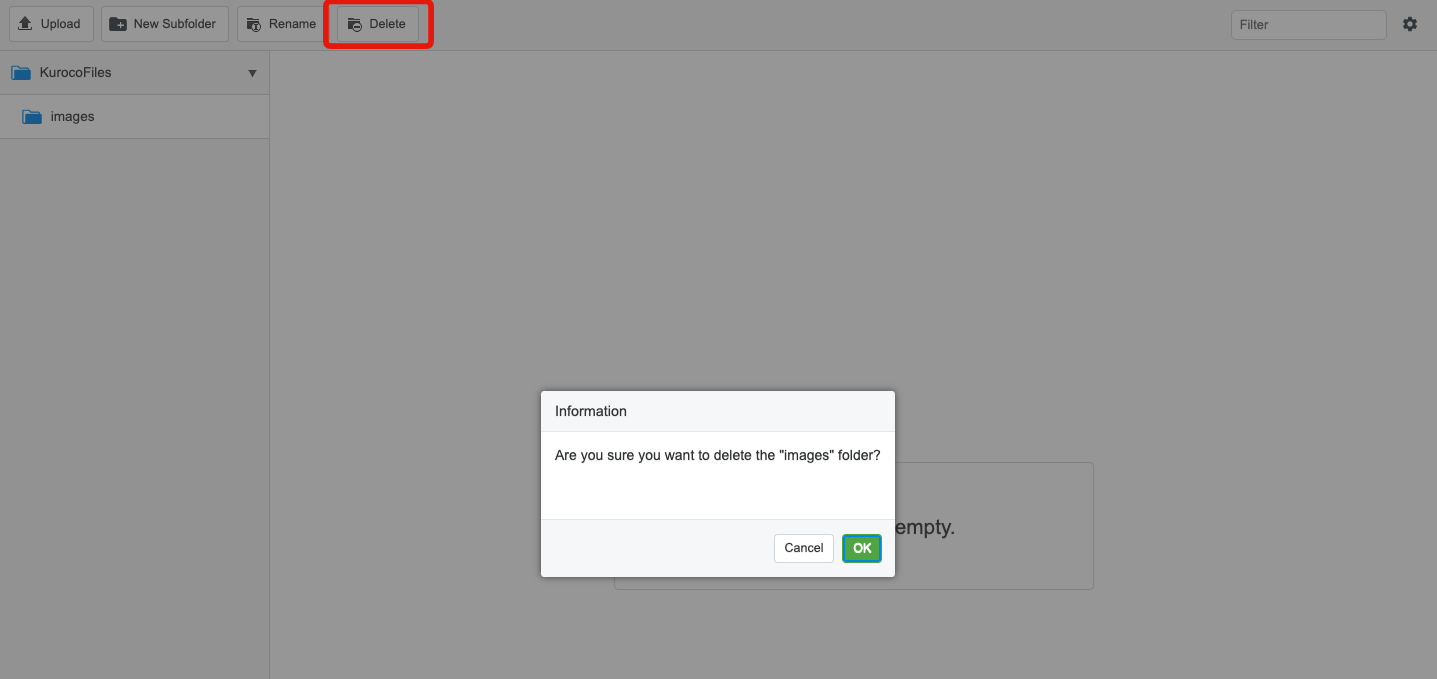
4. Delete
Delete the selected folder, including all its files and subfolders.
Selected file actions
Selecting a file in the file list changes the toolbar at the top. The toolbar differs slightly for images and other file types. Below are the toolbars for image files and non-image files:

The non-image file toolbar is as follows:

Image files have an additional [Edit] button.
1. Upload
Upload files to the folder of the selected file.
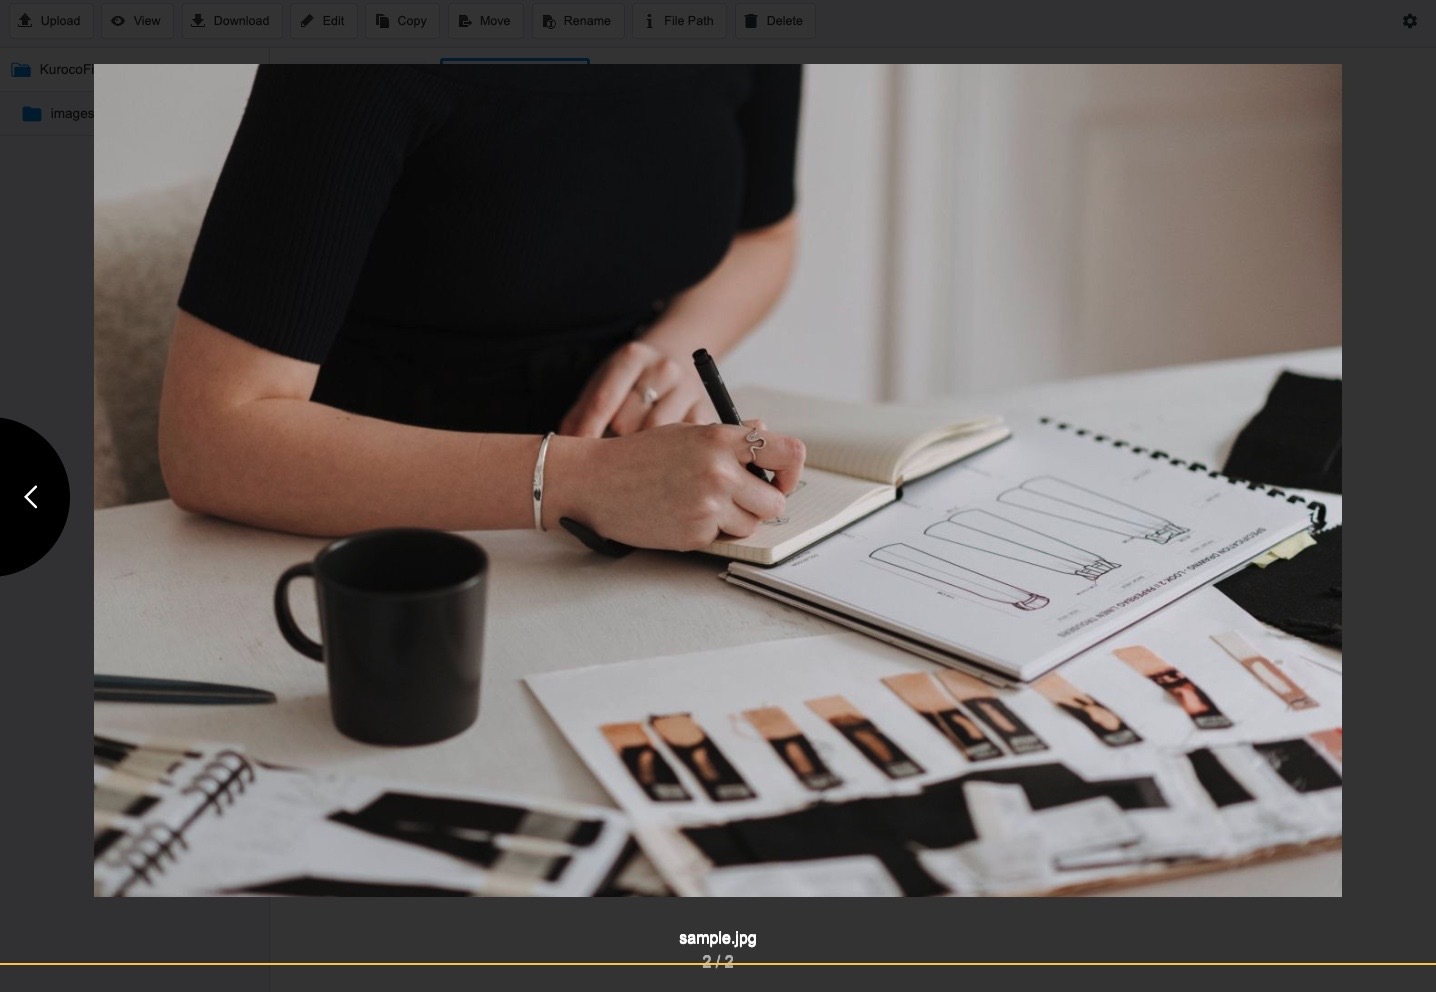
2. View
Zooms in on the selected file.
Image content is displayed for image files, while icons are displayed for other file types.
3. Download
Download the selected file.
4. Edit
Basic image editing tool.
Click [Save] after editing to apply the changes made.
To undo your edits, click [Reset].
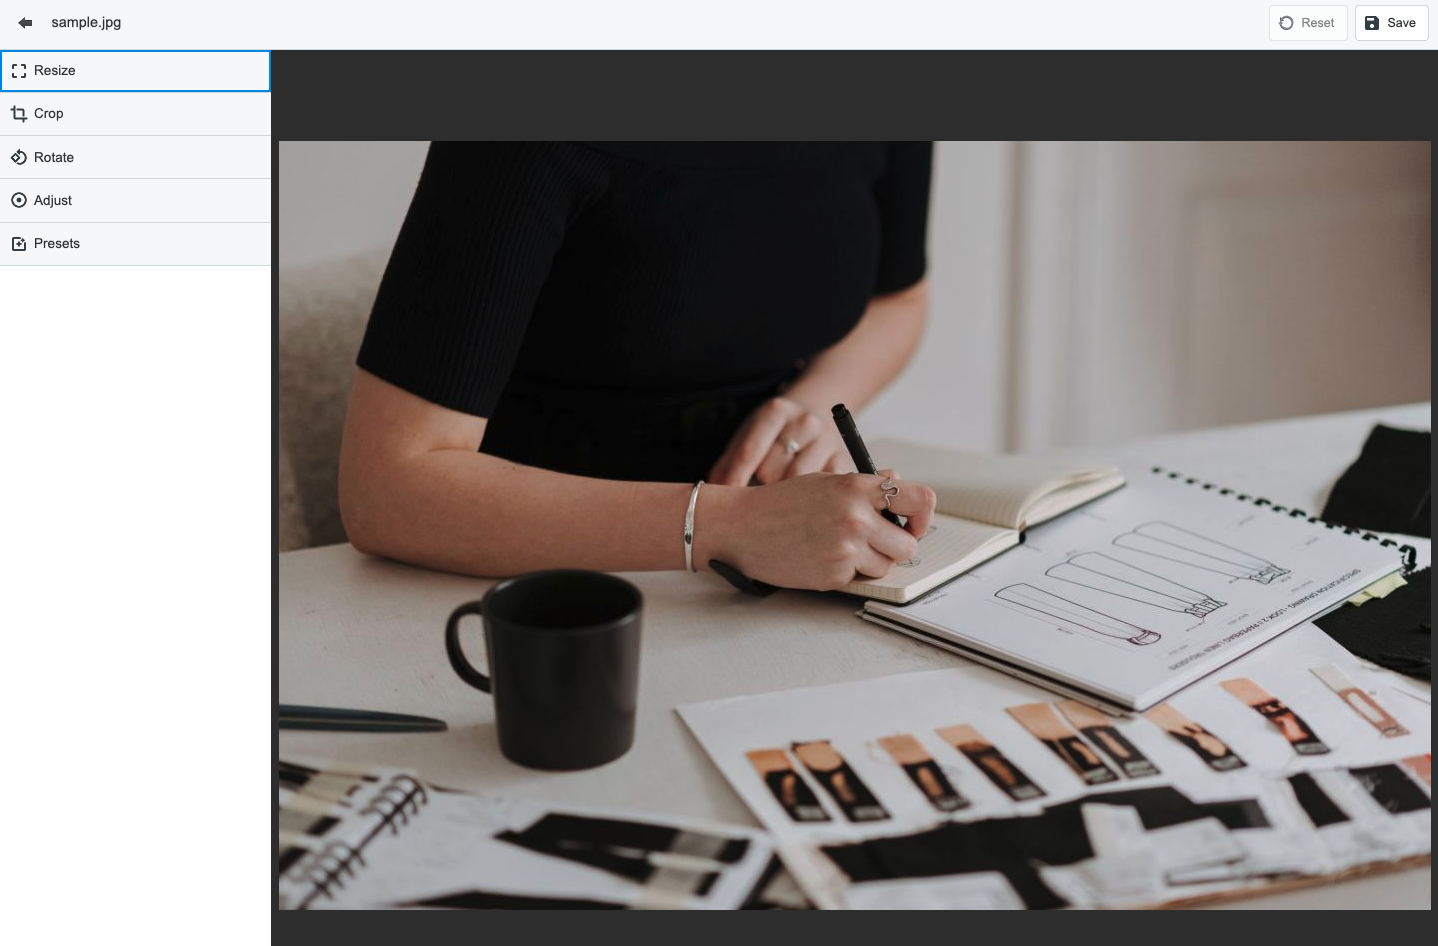
4-1. Resize
Resize the image height and width.
Select the "Keep aspect ratio" option to keep the width-to-height ratio of the original image when resizing.
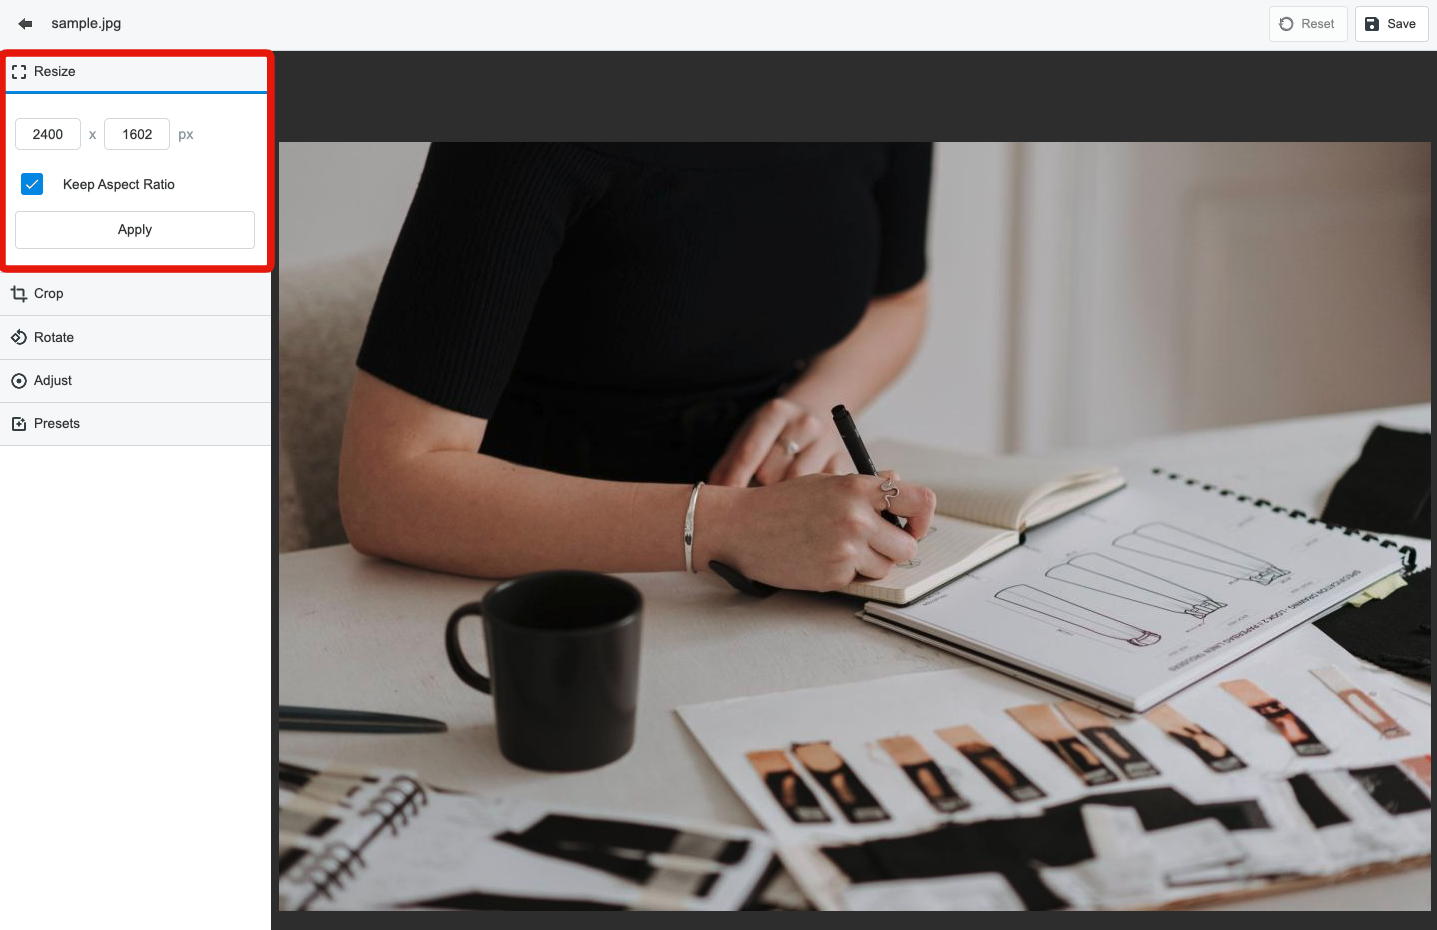
4-2. Crop
Crop the image.
Select the "Keep aspect ratio" option to crop an area with the same width-to-height ratio as the original image.
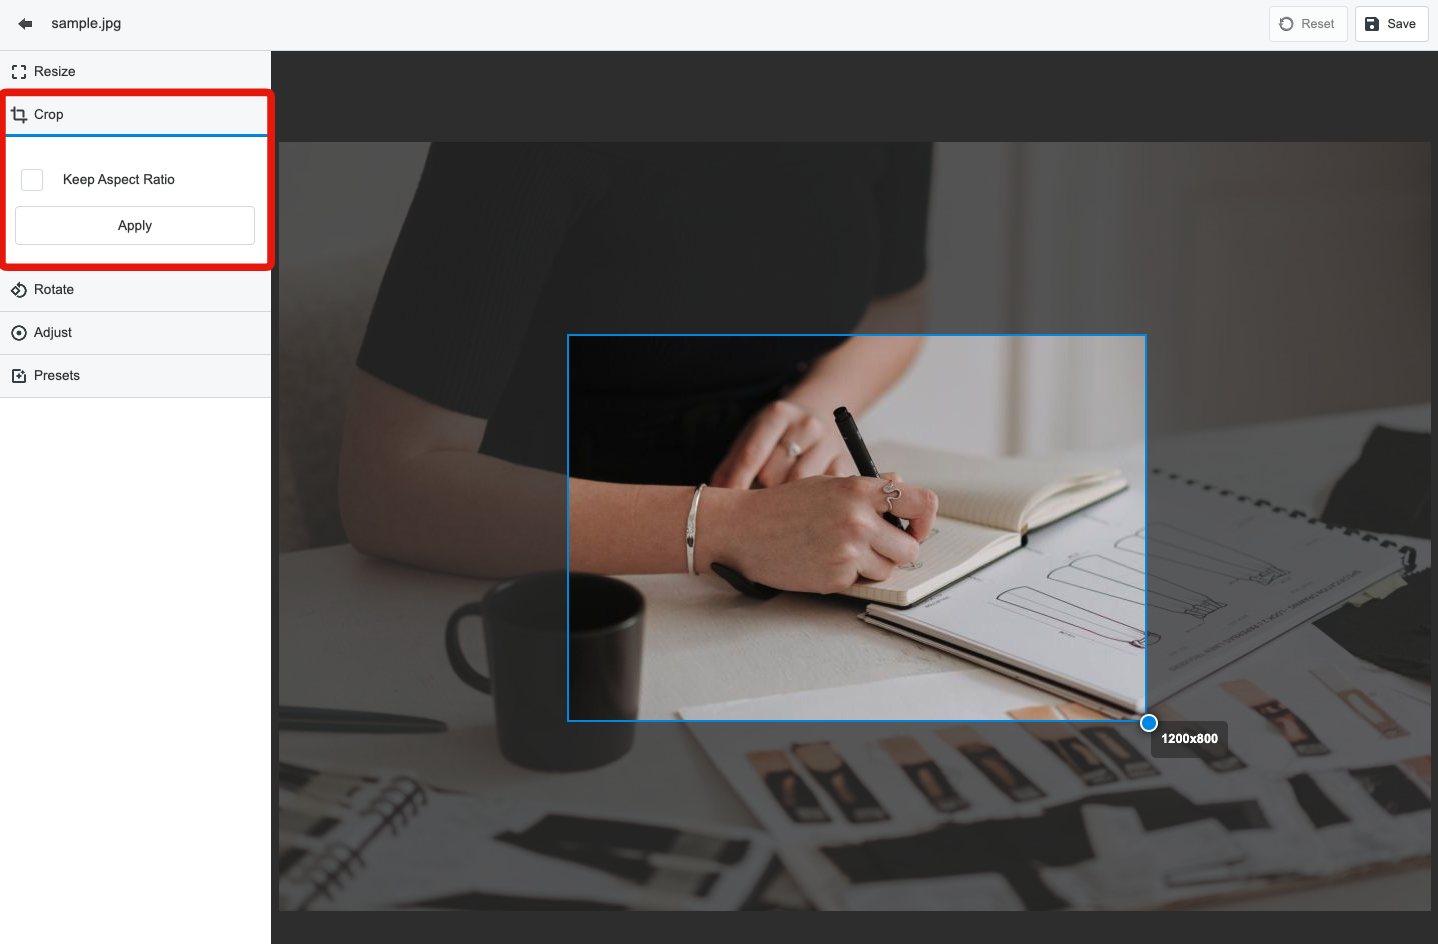
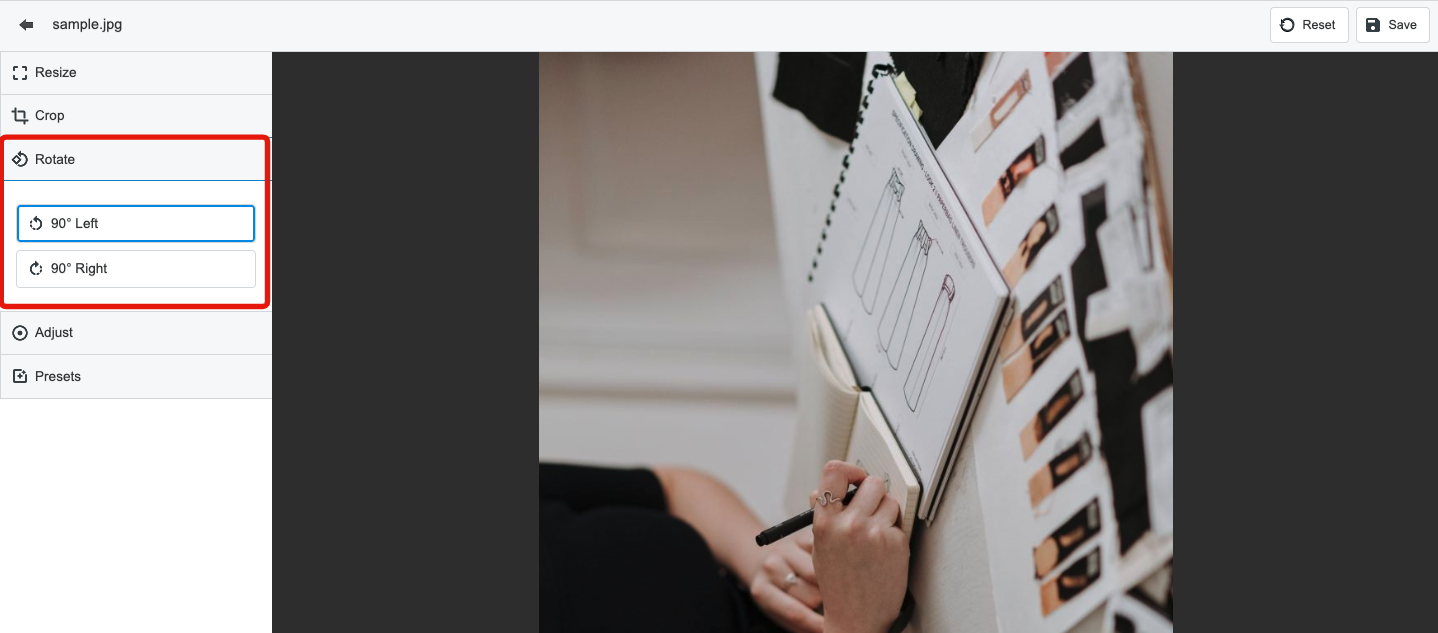
4-3. Rotate
Rotate the image 90 degrees right or left. Rotating the image twice will turn the image upside-down.
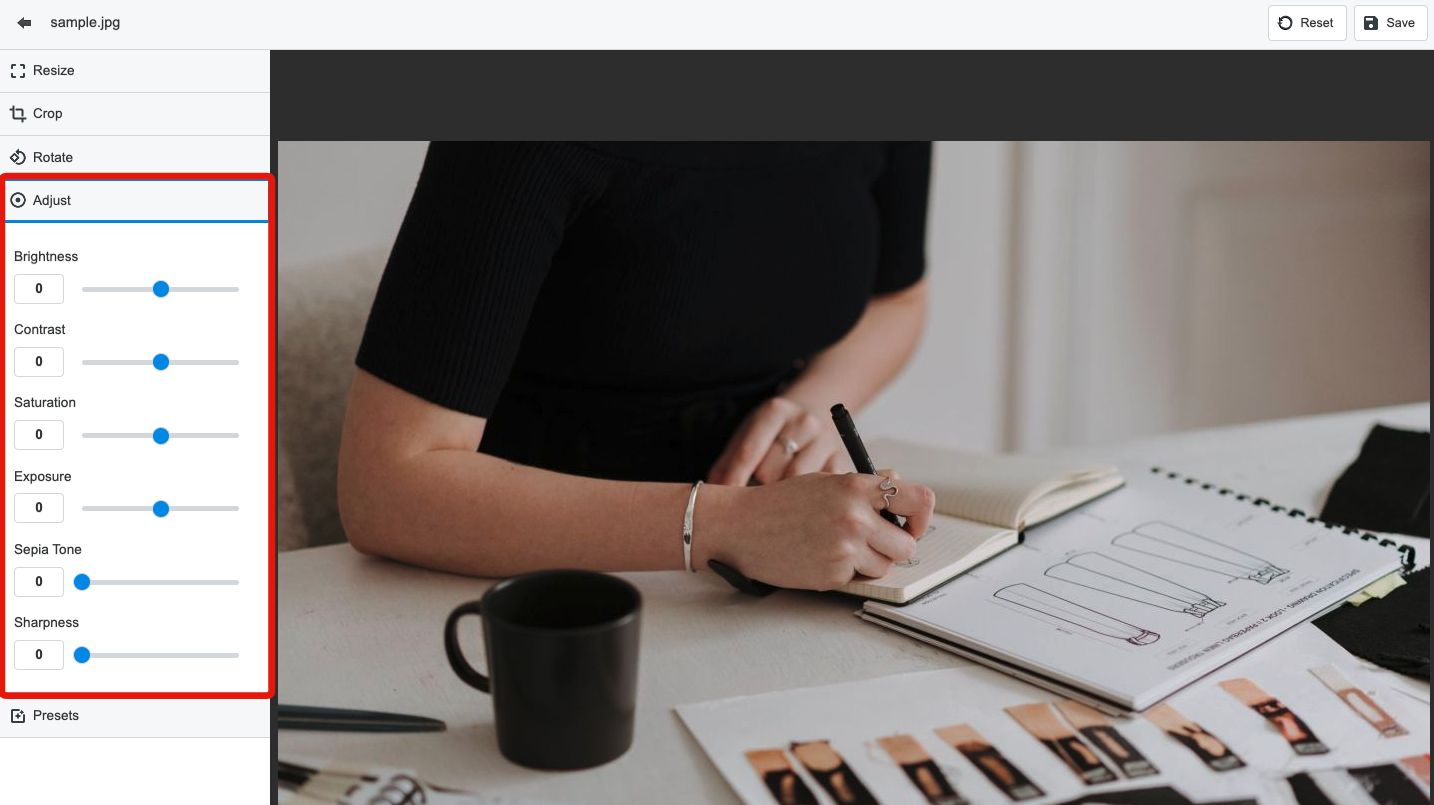
4-4. Adjust
Adjust the following visual properties of the image:
- Brightness
- Contrast
- Saturation
- Exposure
- Sepia tone
- Sharpness
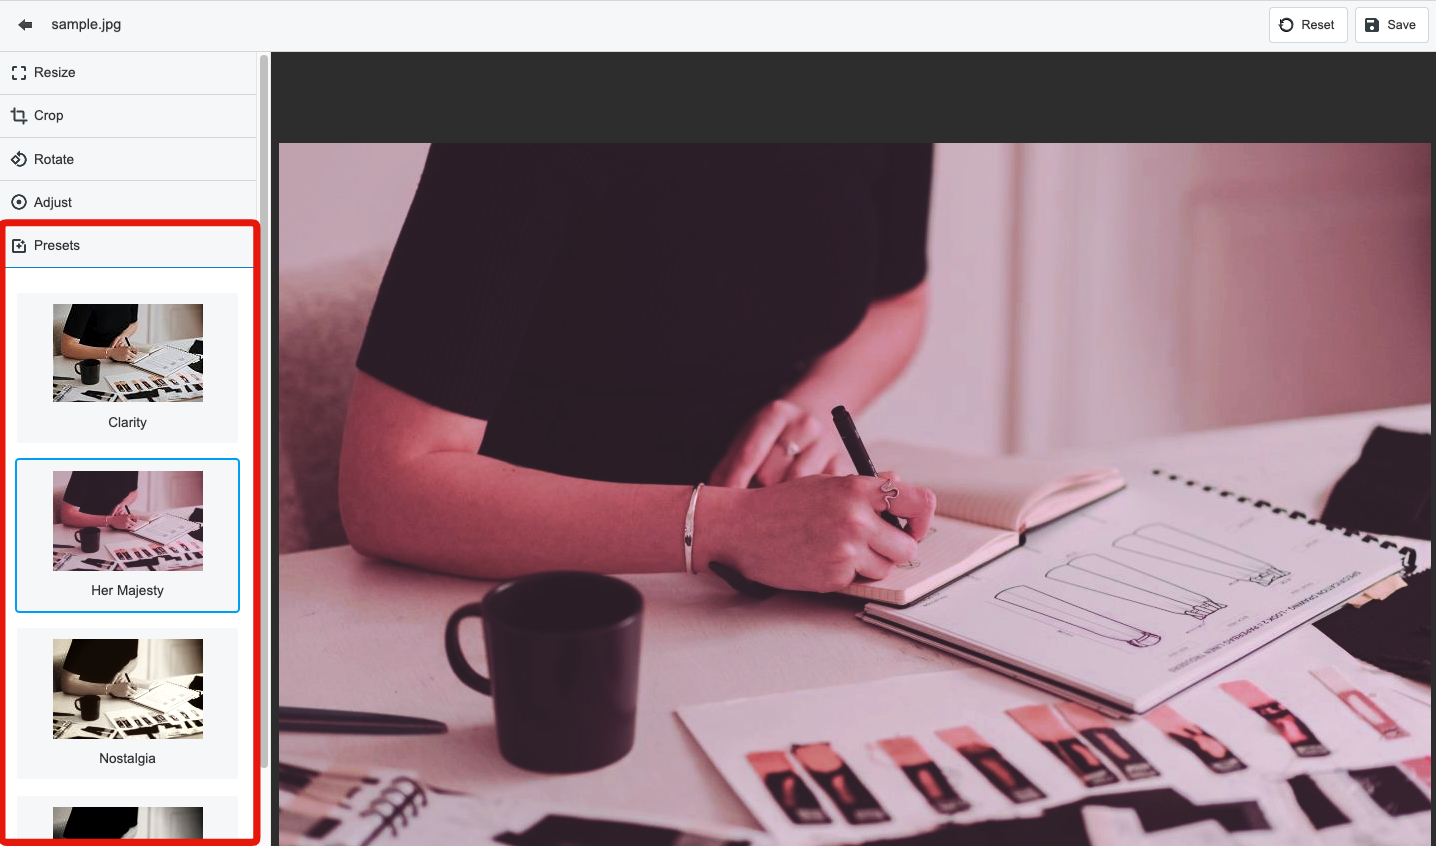
4-5. Presets
Preset filters for the image:
- Clarity
- Her Majesty
- Nostalgia
- Pinhole
- Sunrise
- Vintage
5. Copy
Copy files to the selected folder.
Click the triangle to the right side of the folder name to display folder's subfolders.
Files cannot be copied to the same folder.

6. Move
Moves files to the selected folder.
Click the triangle to the right side of the folder name to display folder's subfolders.
Files cannot be moved to the same folder.

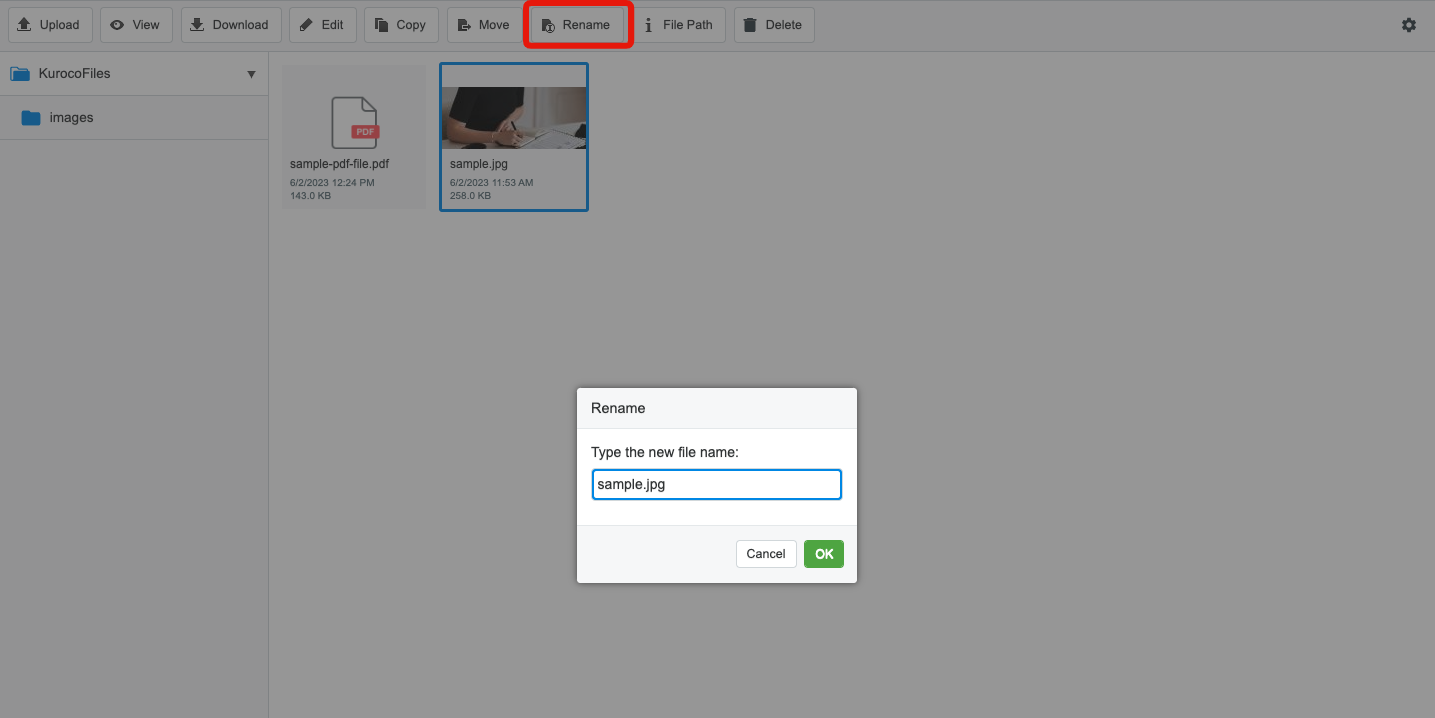
7. Rename
Renames the selected file. The default value is the original file name. Click [OK] to save the changes.
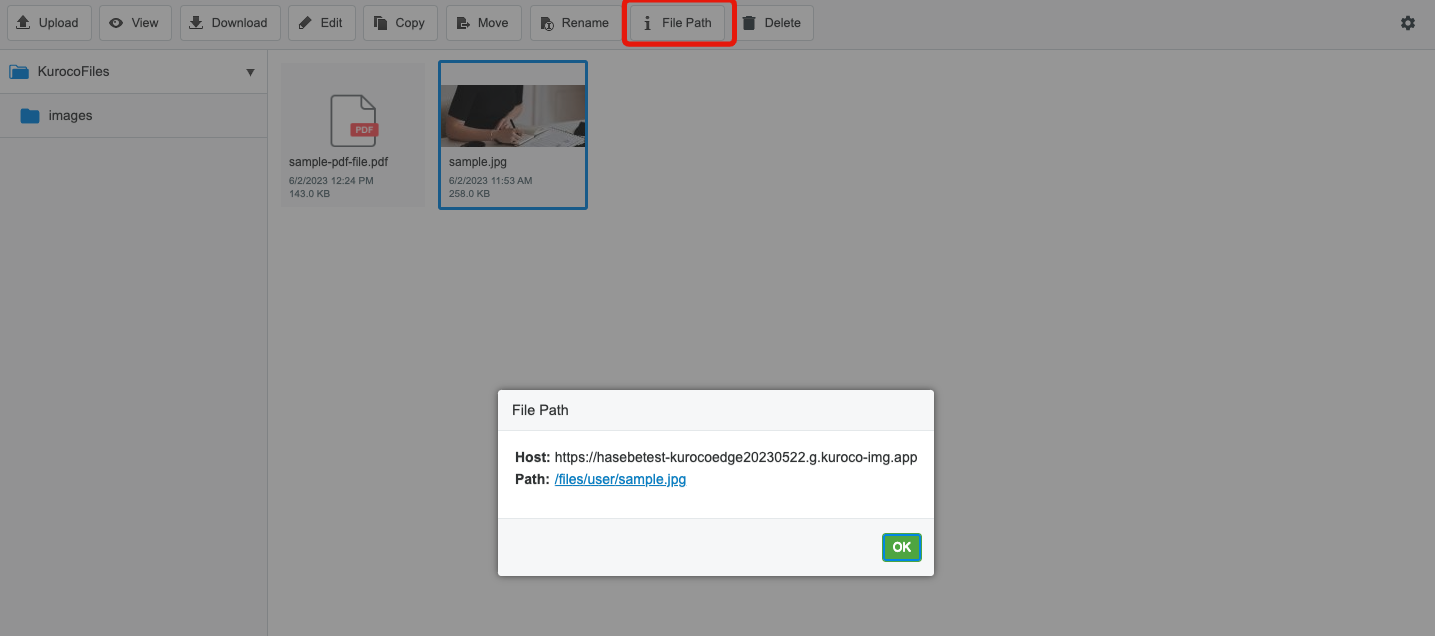
8. File path
Displays the path and URL of the selected file. Click on the link in the dialog box to open the URL.
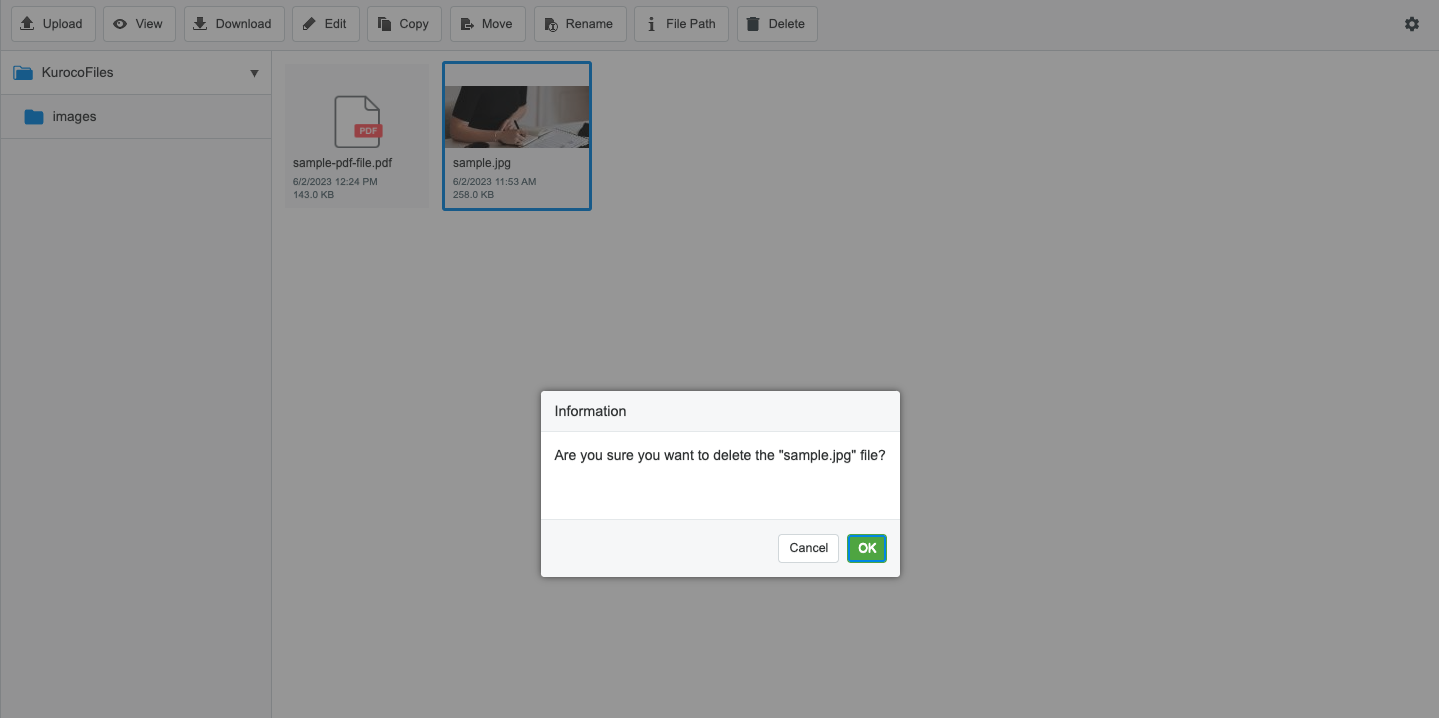
9. Delete
Deletes the selected file. Click [OK] in the dialog box to execute.
Unzip
Right-click on the uploaded ZIP file and click "Unzip" to extract the ZIP file in the file manager.
You can upload multiple files at once by extracting the ZIP file within the file manager.

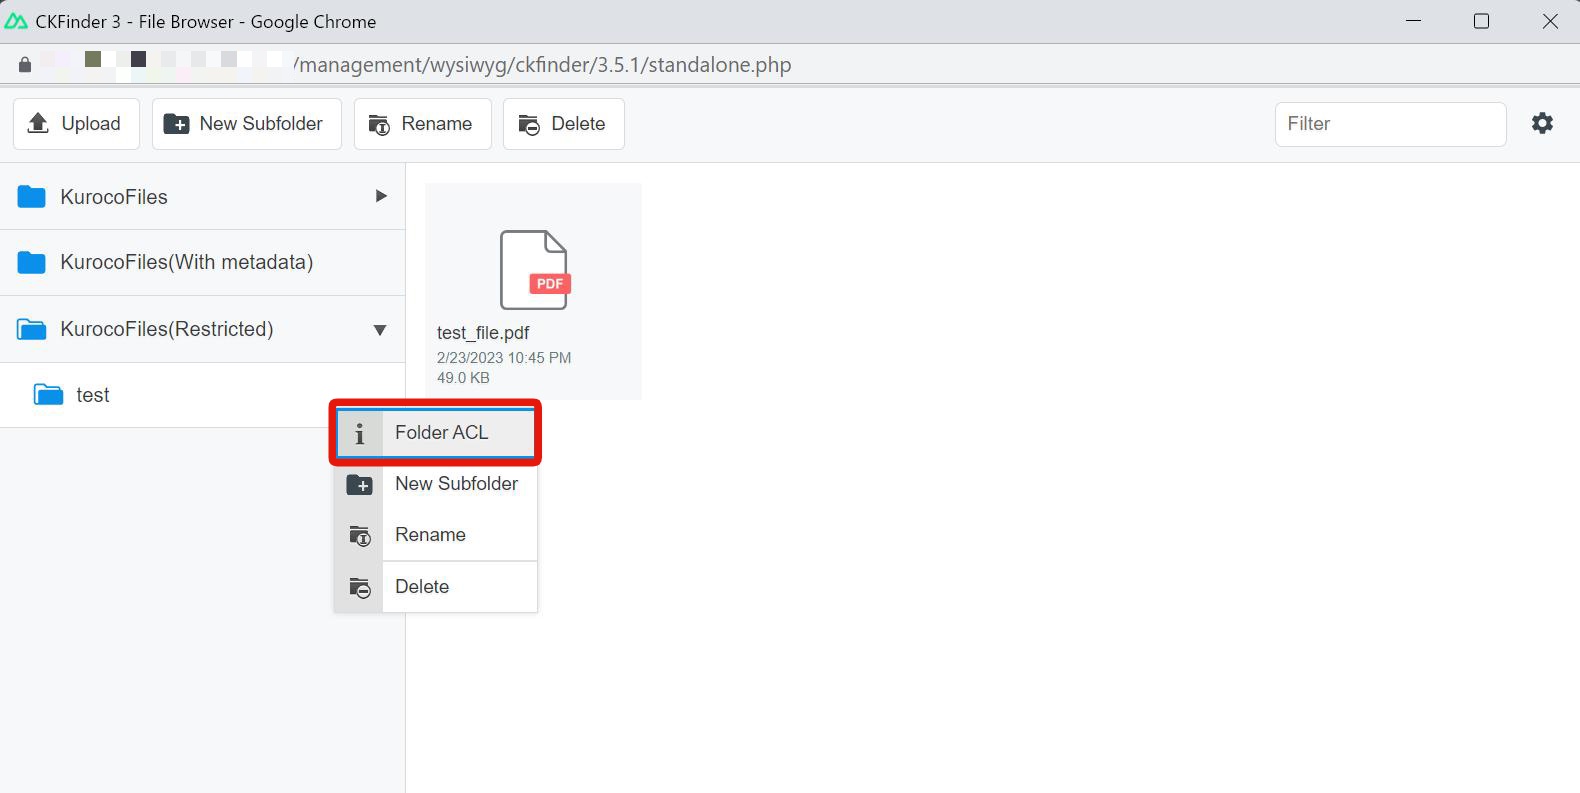
Setting Folder Permissions
Right-click on a folder you have created (other than the root folder) and click on [Folder ACL] to set permissions on the folder.
Permissions for KurocoFiles
For open folders only write permissions could be setup. Mark groups you want allow access to selected folders and confirm your selection with click on [OK] button.

Permission inheritance
If you setup permissions for parent folder all it's subfolders will have same permissions. If you need specific permissions for subfolder you can set up it directly. Subfolder permissions have priority on the parent permissions.
Support
If you have any other questions, please contact us or check out Our Discord Community.