Managing meta tags using WordPress and KurocoEdge
Estimated required time:15 min
Overview
We can modify a webpage's meta tags by settings up rules in KurocoEdge which define the what or how meta tags are modified.
By utilizing a content management system (CMS) with an API feature, we can integrate the CMS with KurocoEdge to manage a website's meta tags easily. The CMS will be used as the main platform to manage the meta tags while KurocoEdge will be the engine that will make the actual changes to the webpages.
In this tutorial, we'll be using an external CMS service, WordPress, to integrate with KurocoEdge.
What you'll learn
Before you start
If you do not have a WordPress account, you can create a free account here.
Setting up WordPress for meta tag management
Once you've registered for a WordPress account, set up a domain of your choice.
Follow the steps on the screen to complete your domain registration.
After registering your domain, go to your dashboard.
Next, we will add a new post by selecting the Add New menu under Posts.
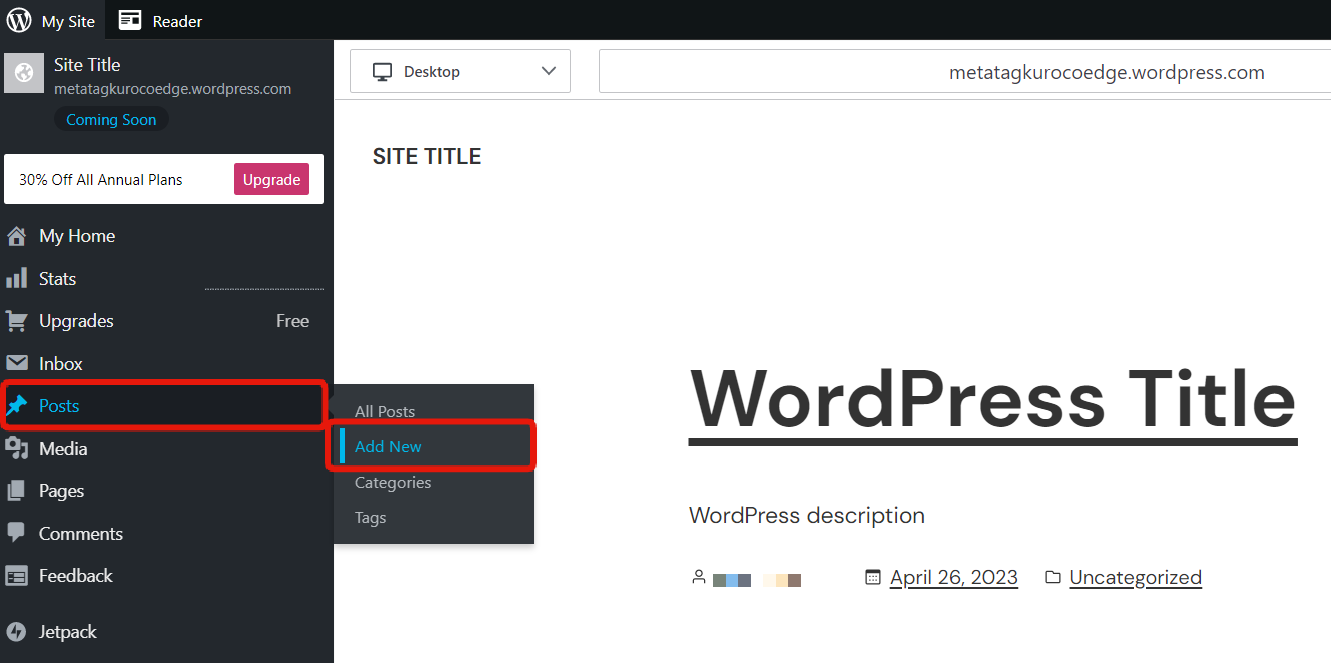
We will be using the text in Title and Excerpt to set a webpage's meta tag title and description respectively.
In this example, the following post has been created.
Title: WordPress titleExcerpt: WordPress description
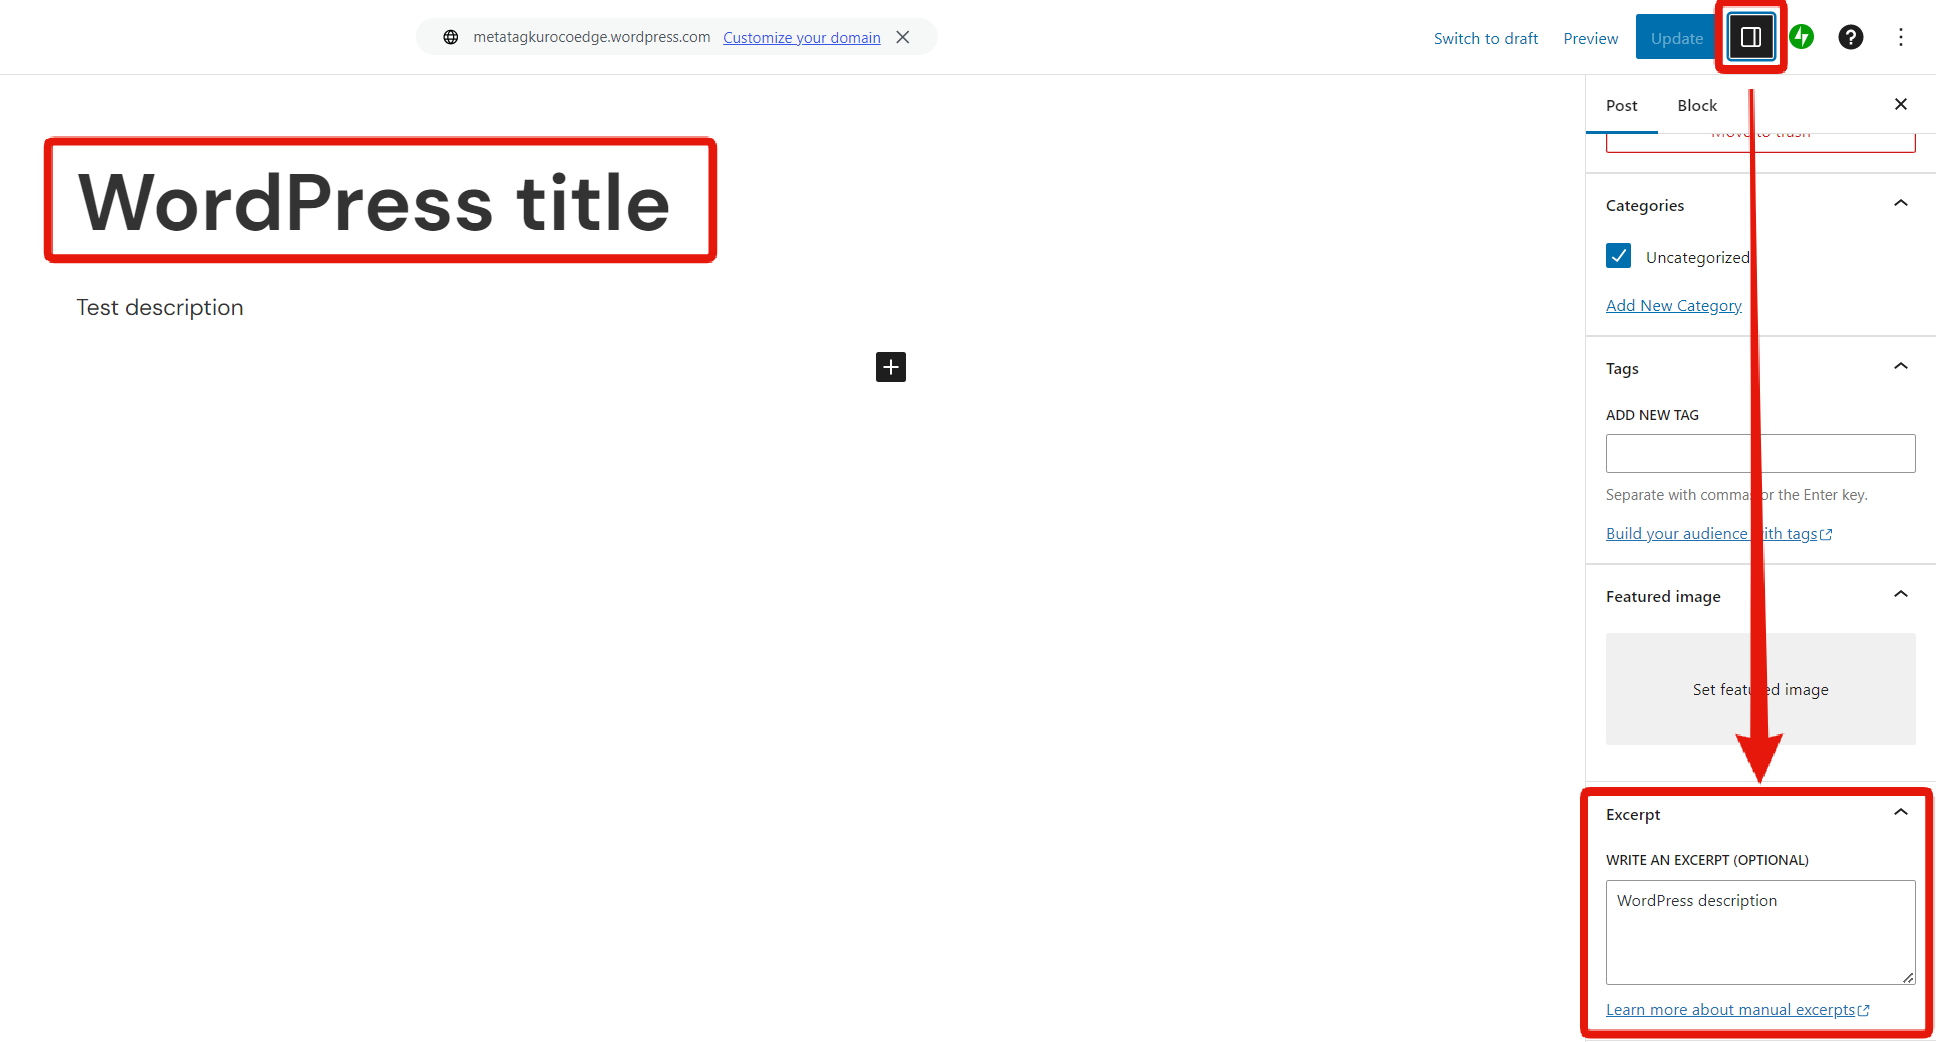
Click the `Publish] button to create the new post.
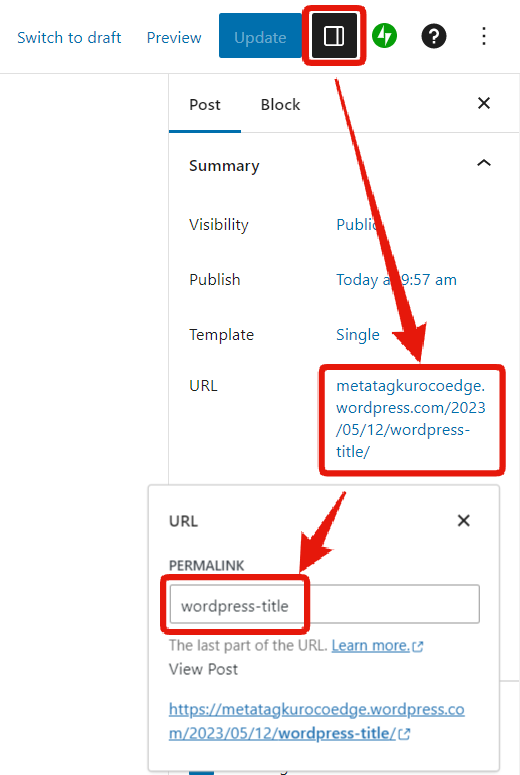
This WordPress post will be used for meta tag management. Frontend is not required.
Take note of the permalink of the created post as we will be using it later.
KurocoEdge setup
Add the WordPress service as a backend host in KurocoEdge
We will be using the REST API from WordPress to retrieve the post data from WordPress. Refer to this documentation for more information.
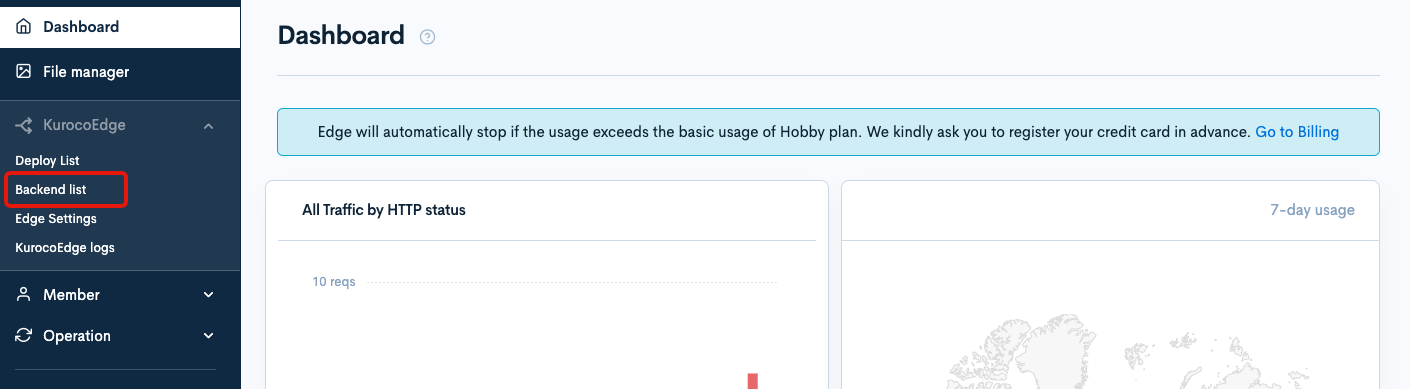
In order to integrate WordPress with KurocoEdge, the WordPress API domain needs to be added into KurocoEdge's backend host list.
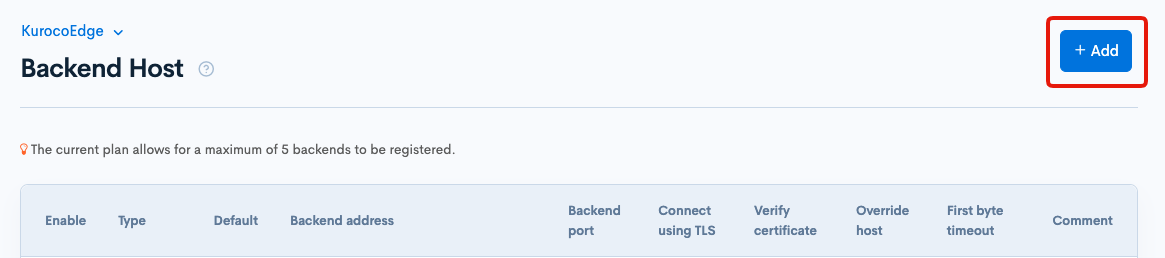
On the side menu, click [KurocoEdge] > [Backend list] to access the backend host list page.
Click on the [Add] button to add a backend domain.
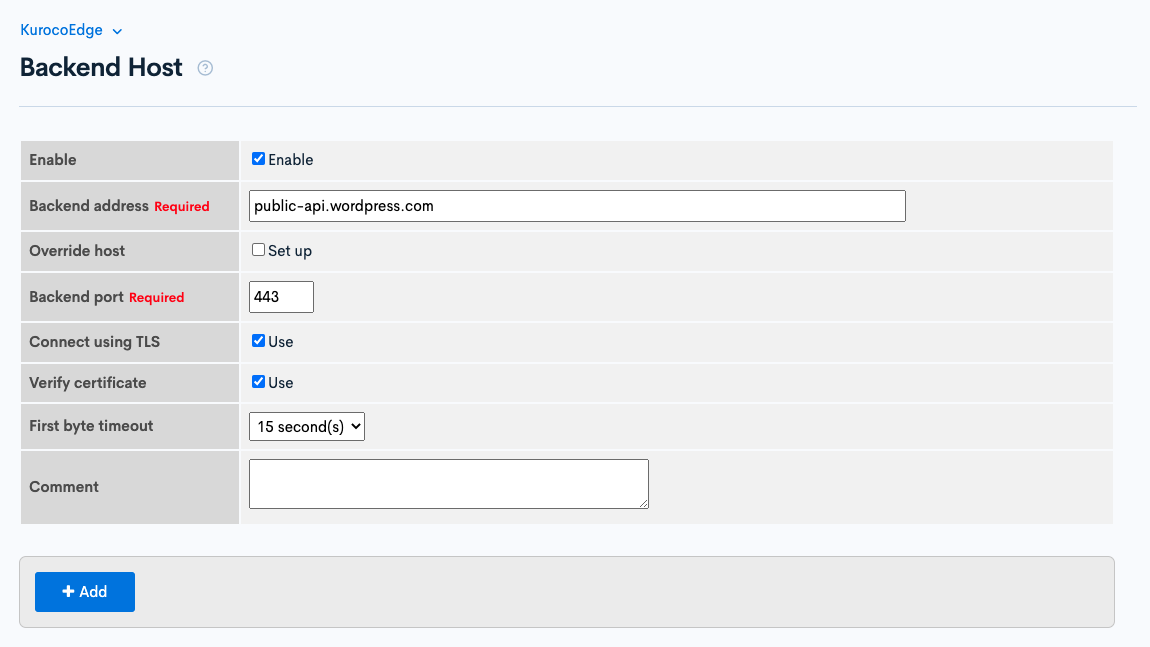
Set the backend address as public-api.wordpress.com and click the [Add] button to add the backend domain.
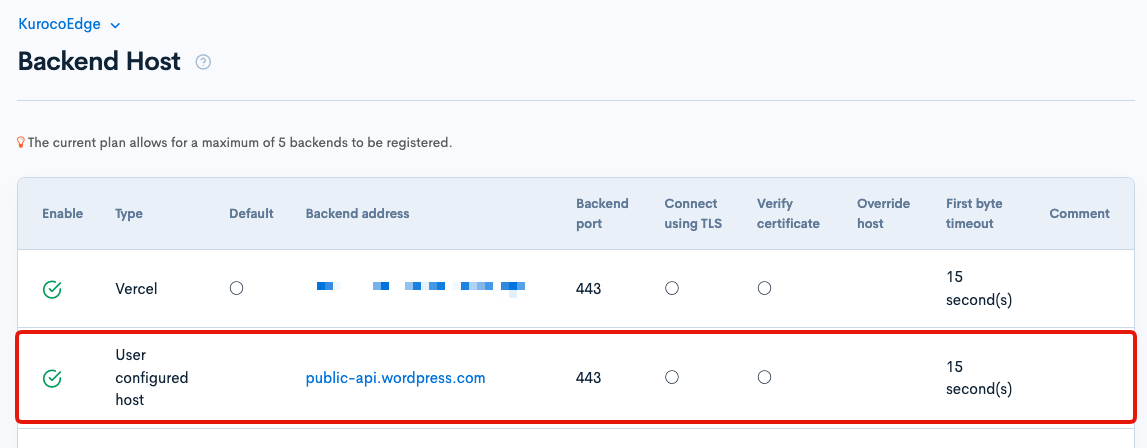
You can verify that the specified domain is now added by checking the backend host list.
Defining the rule in KurocoEdge
On the side menu, click [KurocoEdge] > [Deployment list] to access the Deployment list page and select a draft deployment.
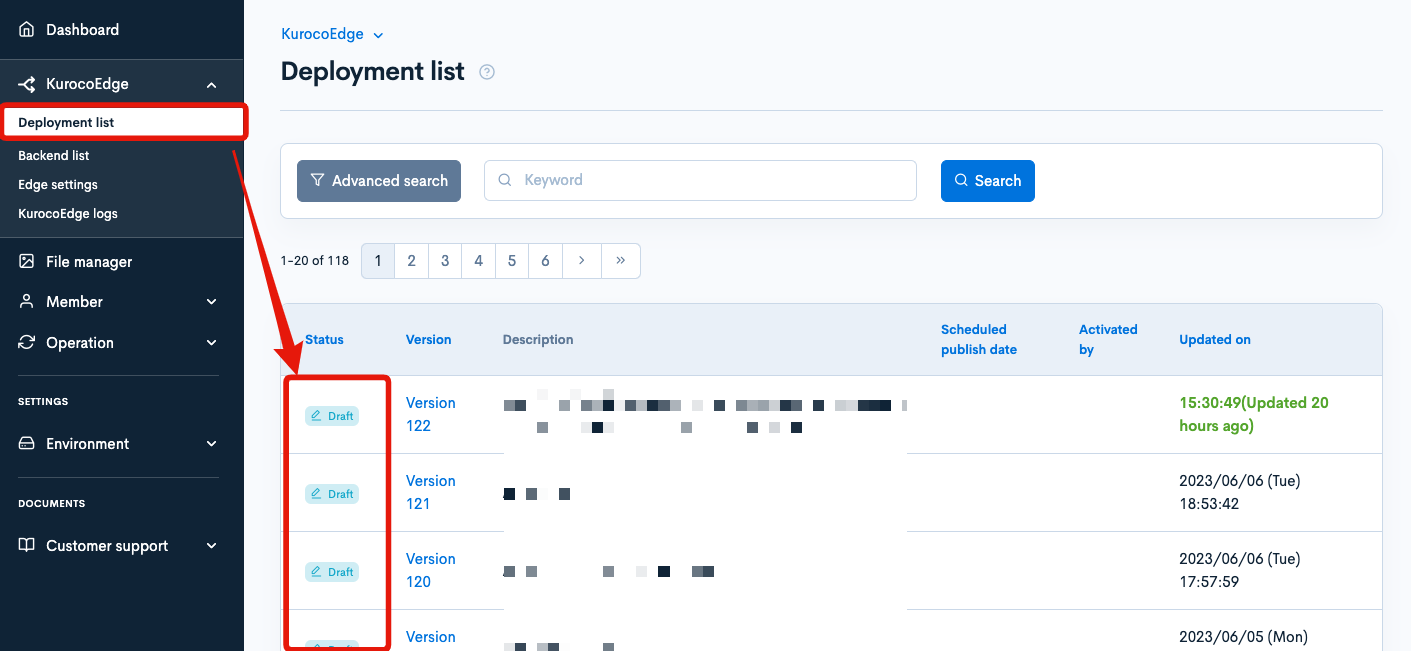
If you do not have an existing draft deployment, select any existing active deployment and click the [Clone] button.

Create a new rule in your deployment by clicking the [Add] button

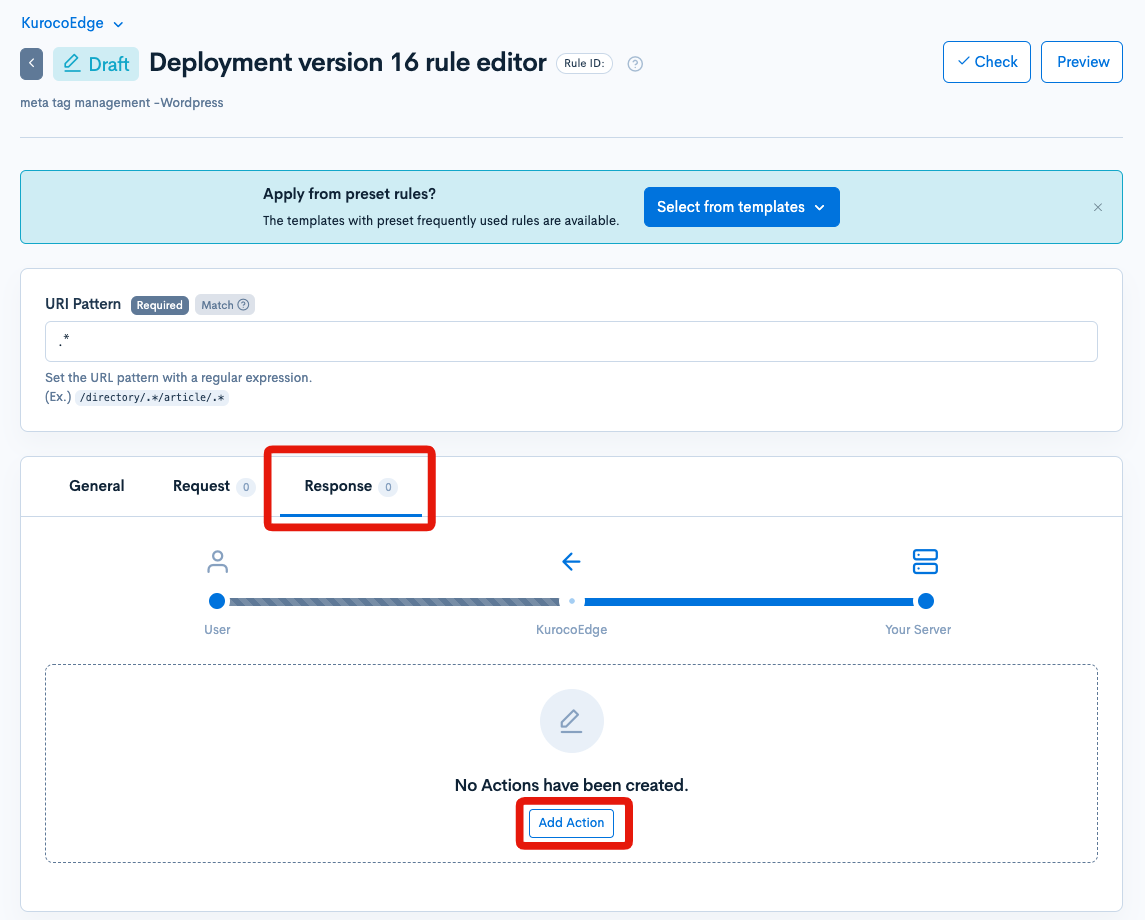
In the Response tab, click on the [Add Action] button to add a new Action with the following settings:
Condition / Variables
Click Condition / Variables.
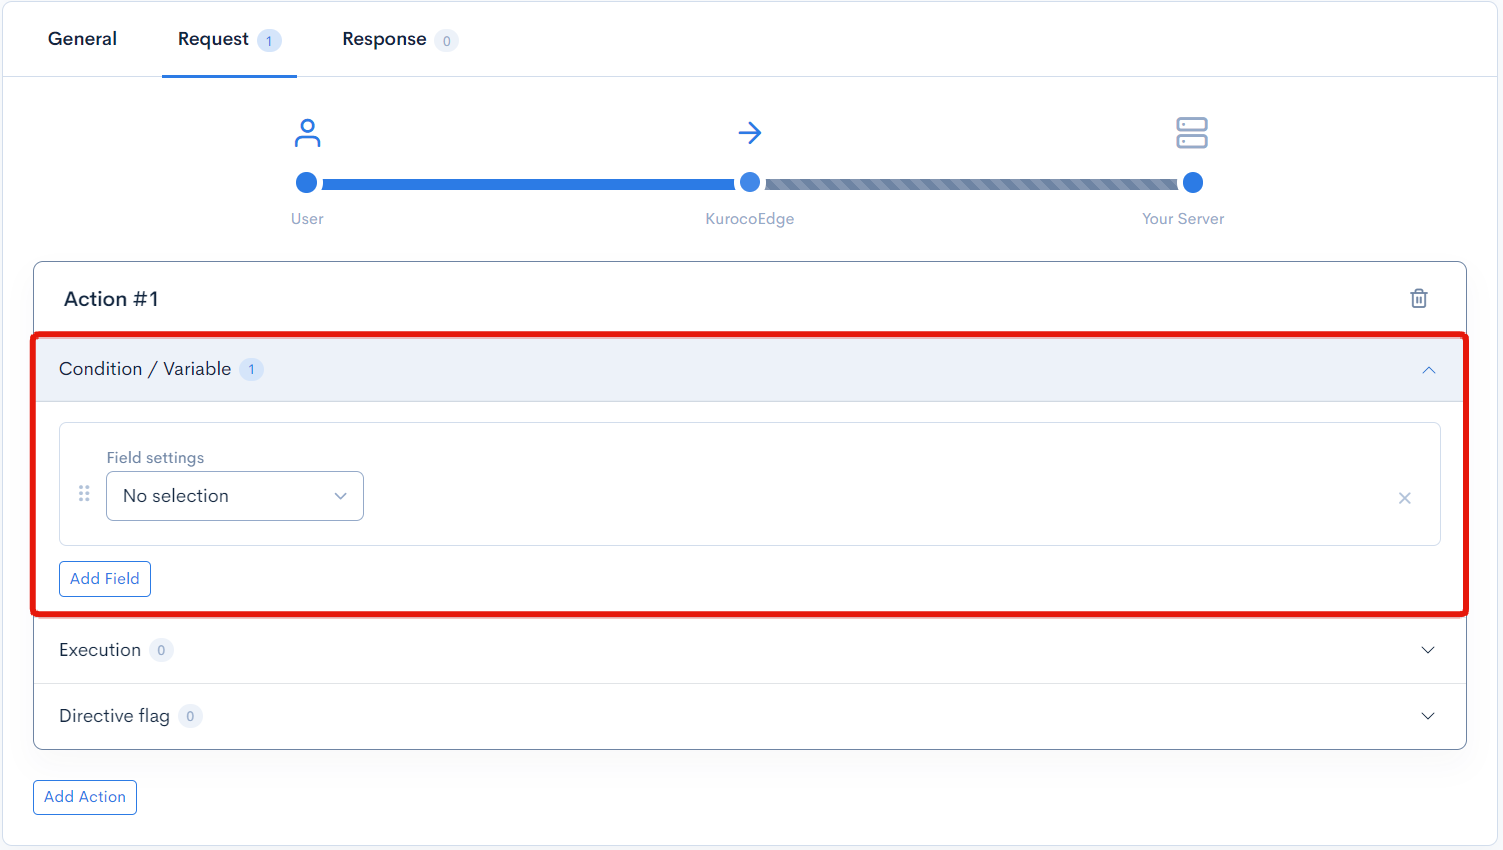
Click on [Add Field] and select
API Variablefrom the dropdown underRestricted Items.Click on the [Add API] button displayed in the
Detailed Conditions.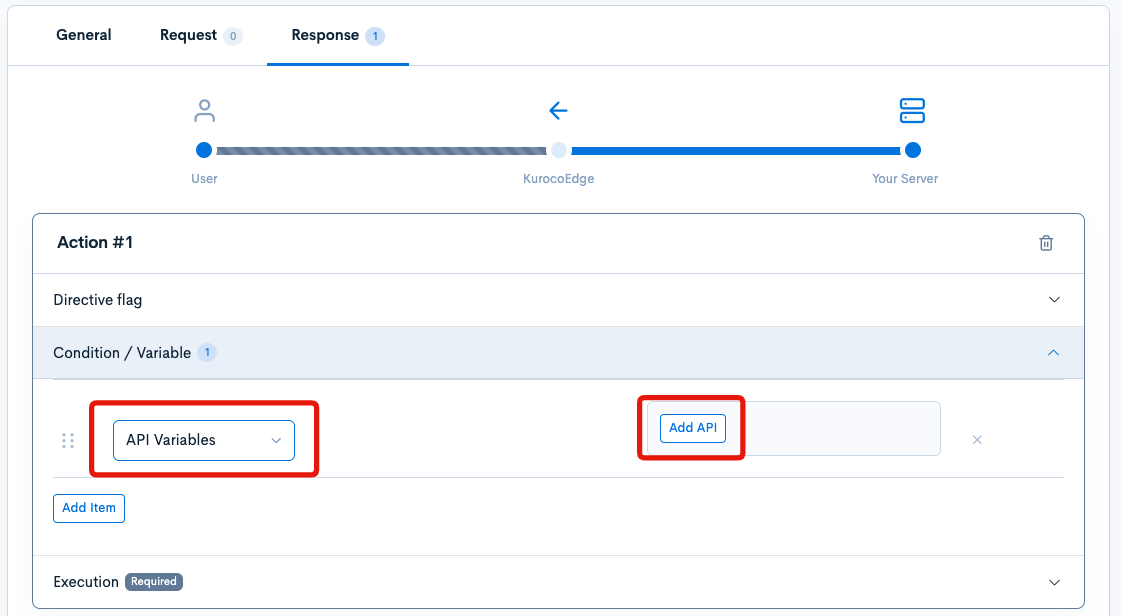
After the
Advanced settingsis displayed, click on the [Edit] button.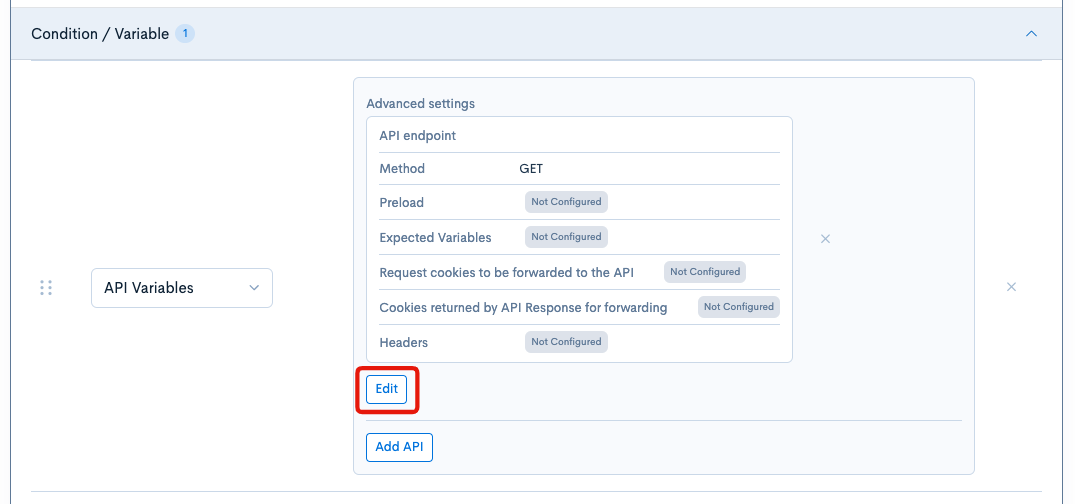
Configure the following:
Settings Value API endpoint https://public-api.wordpress.com/rest/v1.1/sites/{$YOUR-DOMAIN}/posts/slug:{$post_slug}
Replace{$YOUR-DOMAIN}with your own domain and{$post_slug}with your post URL.Cache(second(s)) No cache Method GET Preload Enabled Expected Variables Enter the following. Variable name Rename value title excerpt description 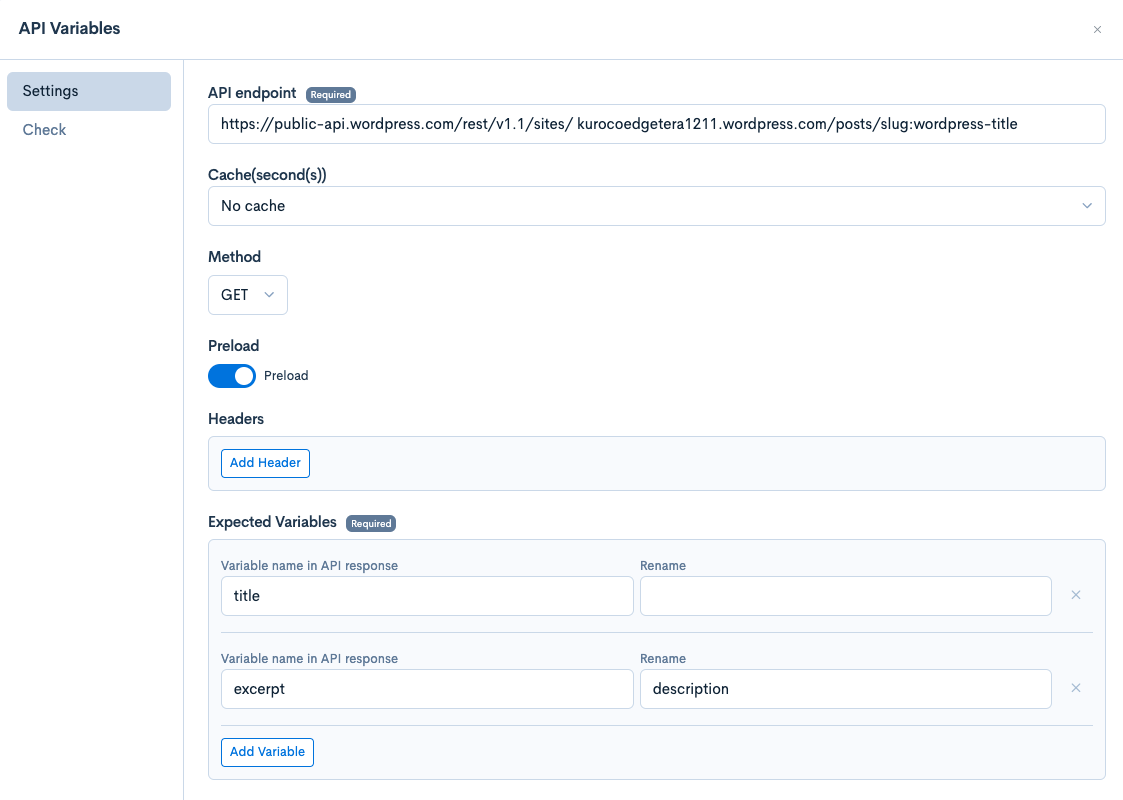 note
noteexcerptwill be used to modify the meta tag description so it is renamed todescriptionto be more easily identifiable in the future.
Execution
Click on Execution.
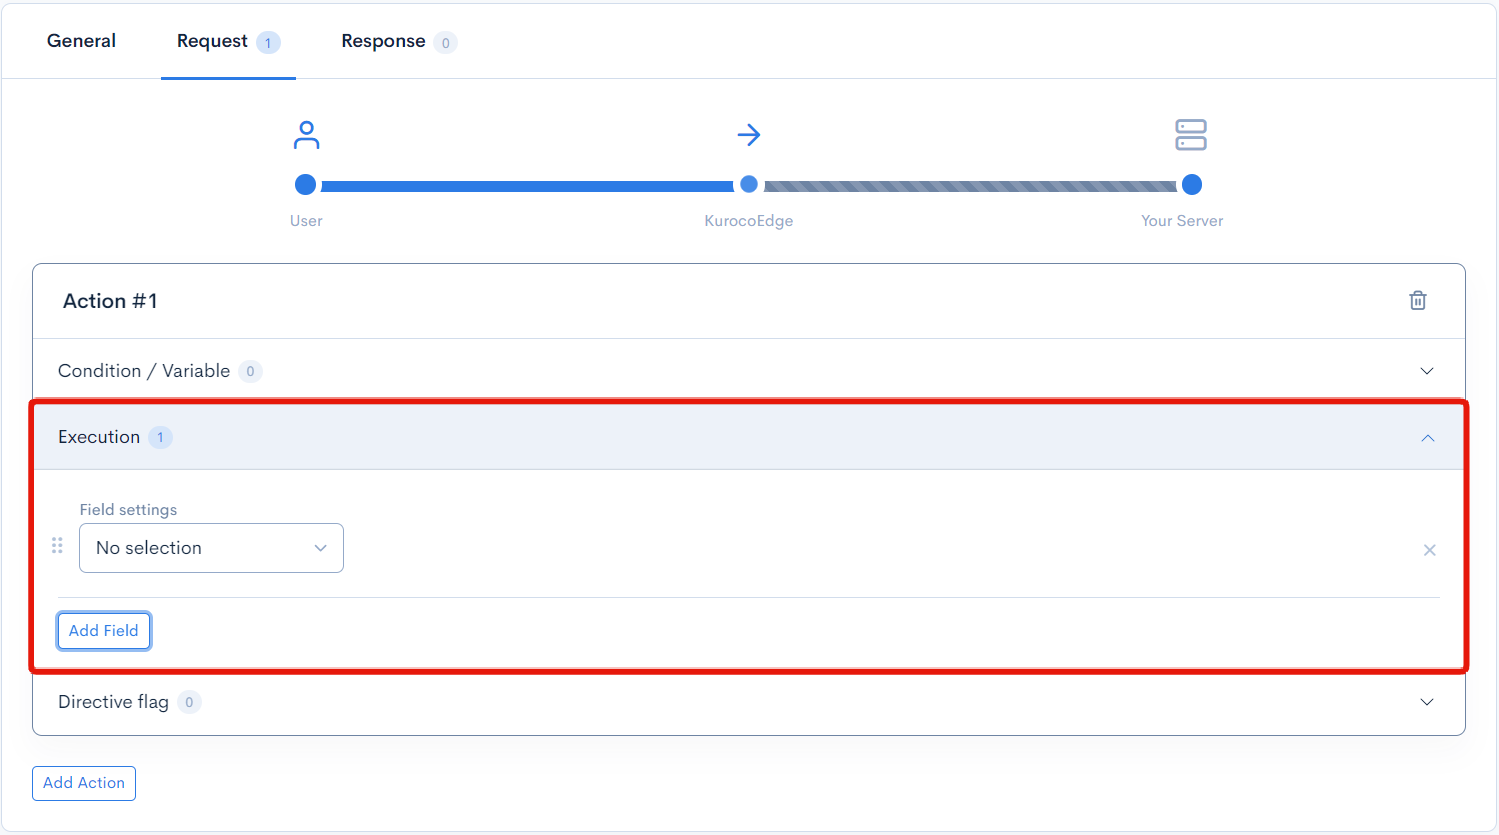 Follow the steps below to configure:
Click on [Add Field] and select
HTML editor.Click on the [Edit] button displayed in the
Detailed Settingsto open the editor dialog.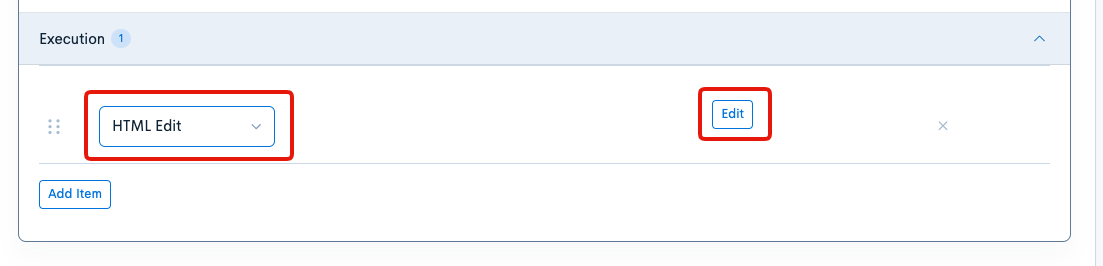
Specify the element on the site to apply the rule in the
Generaltab. Entermeta[property="og:title"]in theCSS Selectorfield.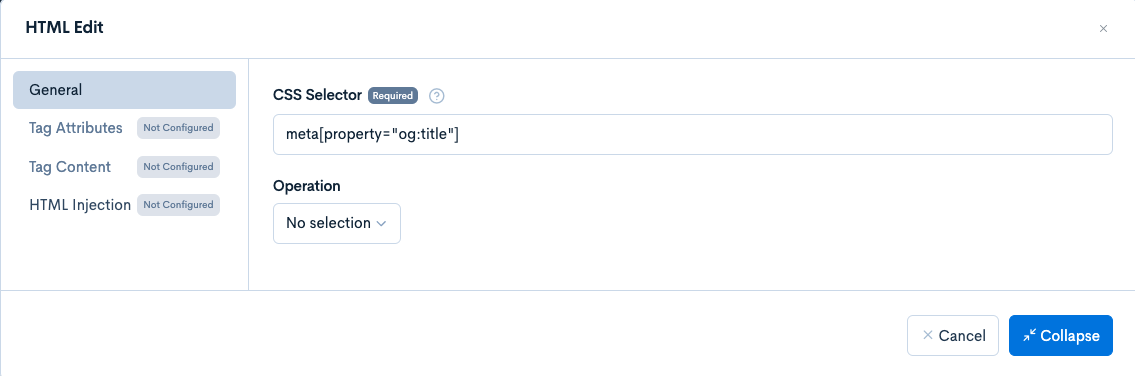
In the
Tag Attributestab, configure the following:Operation Attribute Name Value Setcontent{$title}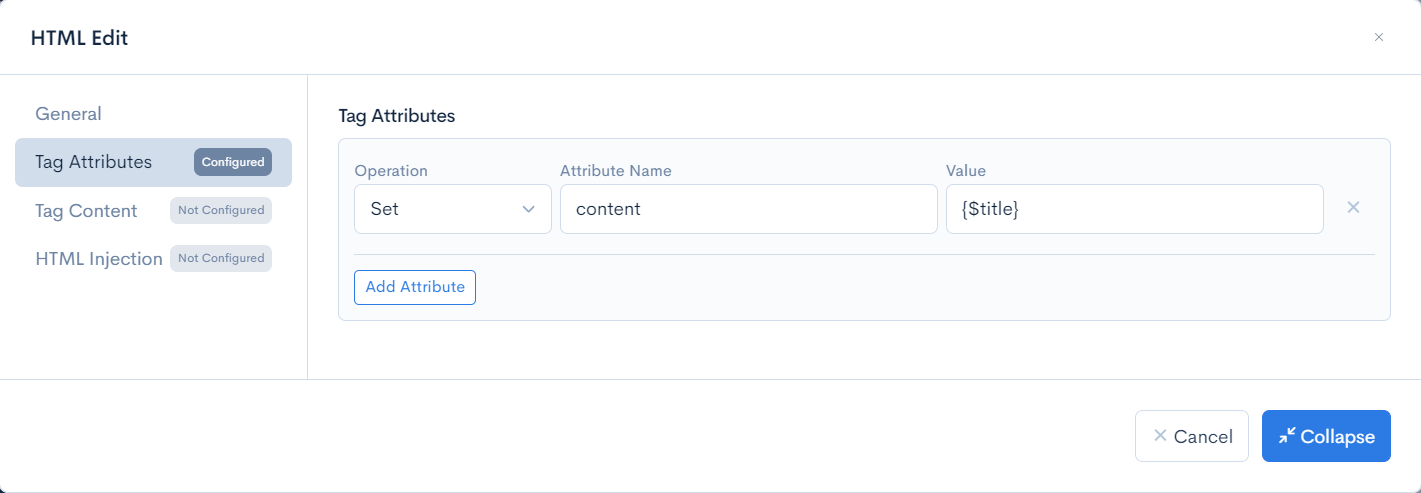
Once you have configured the above settings, click the [Collapse] button to close the dialog.
The above rule will apply the following logic to the webpage:
- Look for the meta property
og:title - Replace the meta property
og:title'scontentwith thetitlevalue returned from the WordPress API
We will add another field to modify the description meta tag.
Add a new
Fieldand select theHTML Editaction typeIn the
Generaltab, setmeta[property="og:description"]as theCSS selectorto specify the element to apply the rule to on the webpage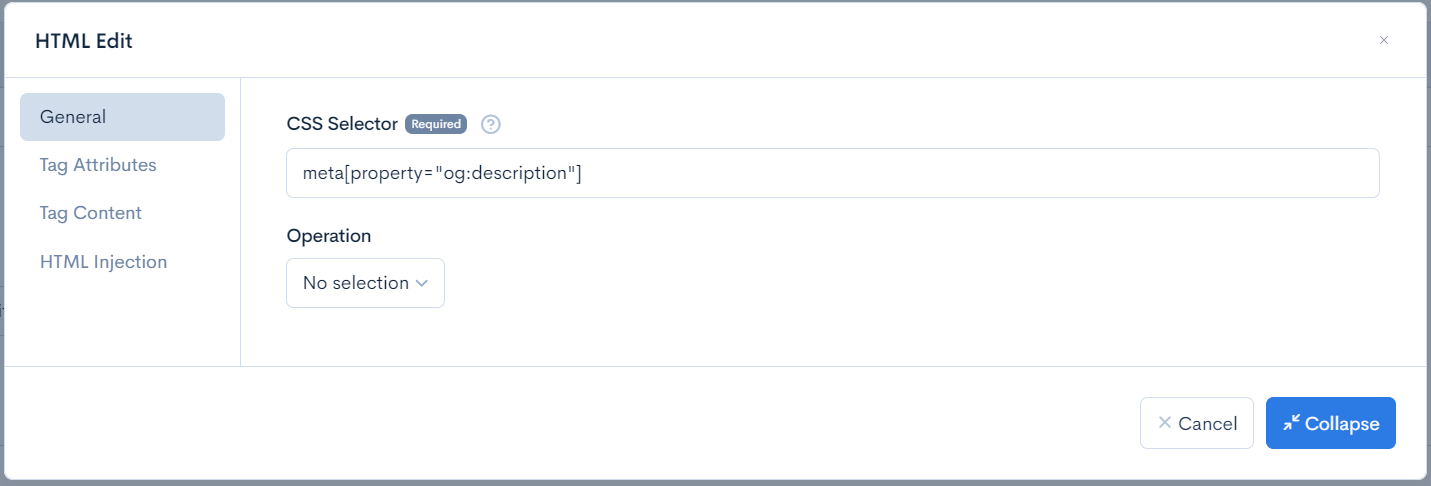
In the
Tag Attributestab, specify the following:Operation Attribute Name Value Setcontent{$description}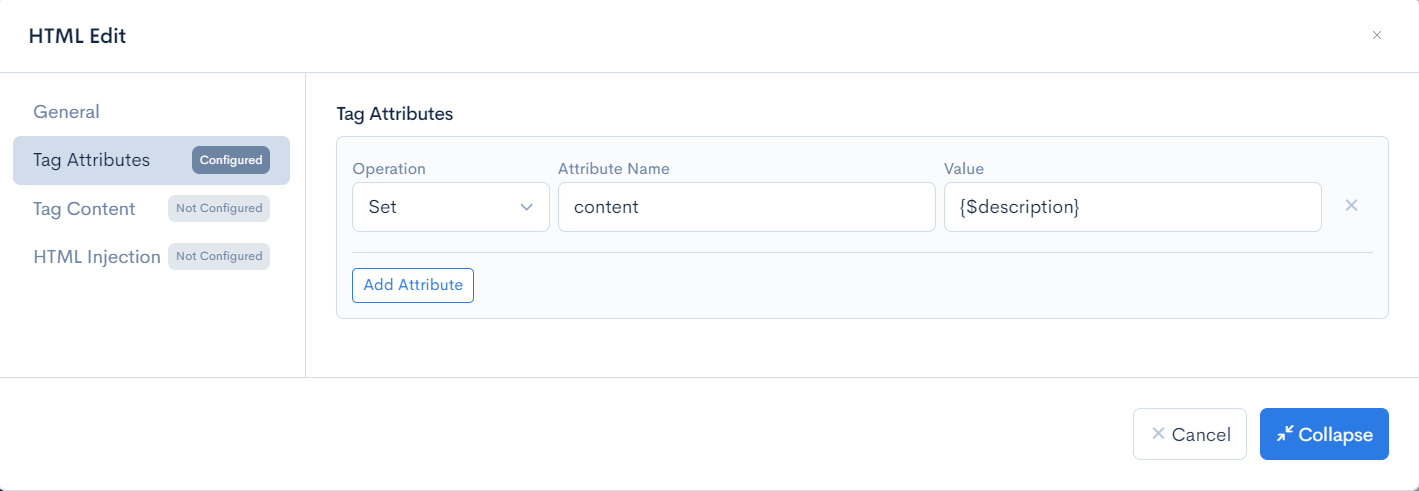
Click the
Collapse] button to close the editor dialog then click theUpdate] button at the bottom right of the page to save your changes.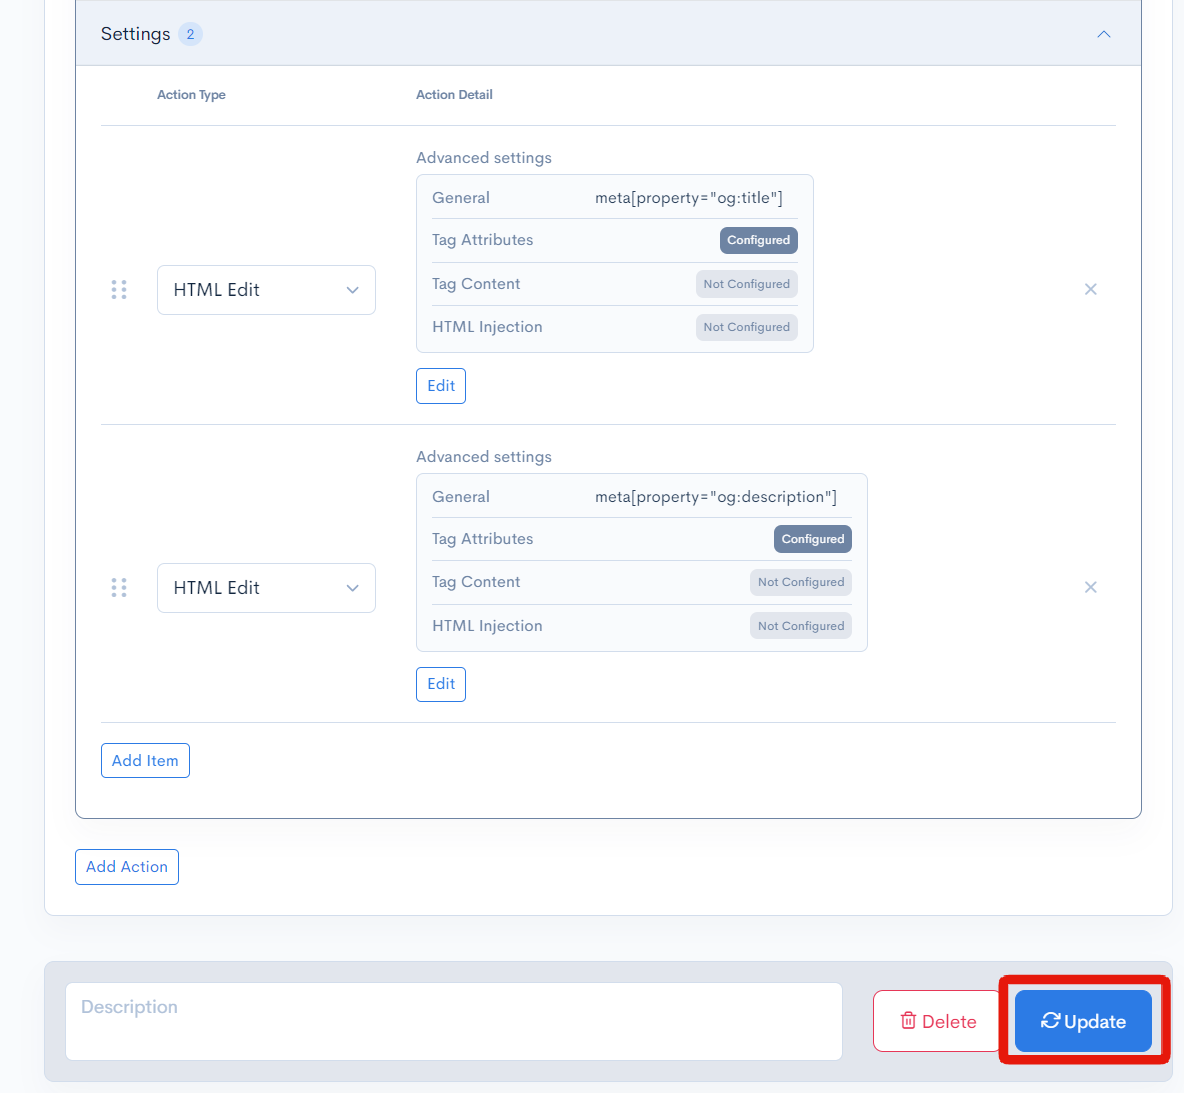
Verifying the rule
After the deployment is activated, we can verify the "content" of meta property "og:title" and "og:description" now retrieves and display the values from the specified WordPress post.

Improving the KurocoEdge rule
Updating the KurocoEdge rule
Currently, the KurocoEdge rule that we have specified will modify the meta tag of the entire website, which is not ideal.
We will improve the rule logic so that the WordPress post can specify the directory to apply the meta tag modification to.
In order to do this, we will modify the KurocoEdge rule as follows:

- URI Pattern:
/(?P<dir>.*)/ - Response → Action → Condition / Variable → URL:
https://public-api.wordpress.com/rest/v1.1/sites/$site/posts/slug:{$dir}
Note: Replace the $site part of the domain in the URL with your WordPress domain.
In the above settings, we have assigned the permalink(slug) of the WordPress post as dir variable within our rule.
Next, we've set the URI Pattern to use the dir variable, which is the WordPress post slug, to dynamically determine which directory within the website should the rule be applied to.
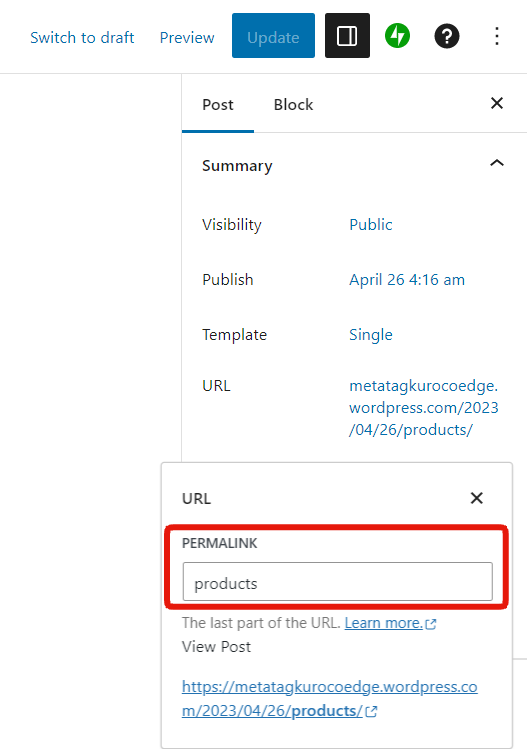
Updating the WordPress post
Next, we will update the permalink of the WordPress post to the webpage's directory name that we want the KurocoEdge rule to apply to. In this example, permalink is updated to "products" as we want to modify the meta tag of the /products/ page.
Verifying the final result
Check the target directory page's meta tag content has been modified according to the WordPress post.

The meta tag data should remain unchanged for all other pages within the website.
Summary
We have set up a rule in KurocoEdge that retrieves the permalink(slug) from WordPress to determine which directory within the website to apply the rule to, and replacing the webpage's meta tag content based on the WordPress post.
Support
If you have any other questions, please contact us or check out Our Discord Community.