Using variables in KurocoEdge – API variables
Estimated required time:15 min
Overview
These API variables can be reused within the current Action or any subsequent Actions in the 'Execution' section, using the {$variable} syntax.
What You Will Learn
- Where to define an API variable
- Configure an Action's 'Execution' settings
- Test if the variable is working
Where to define an API variable
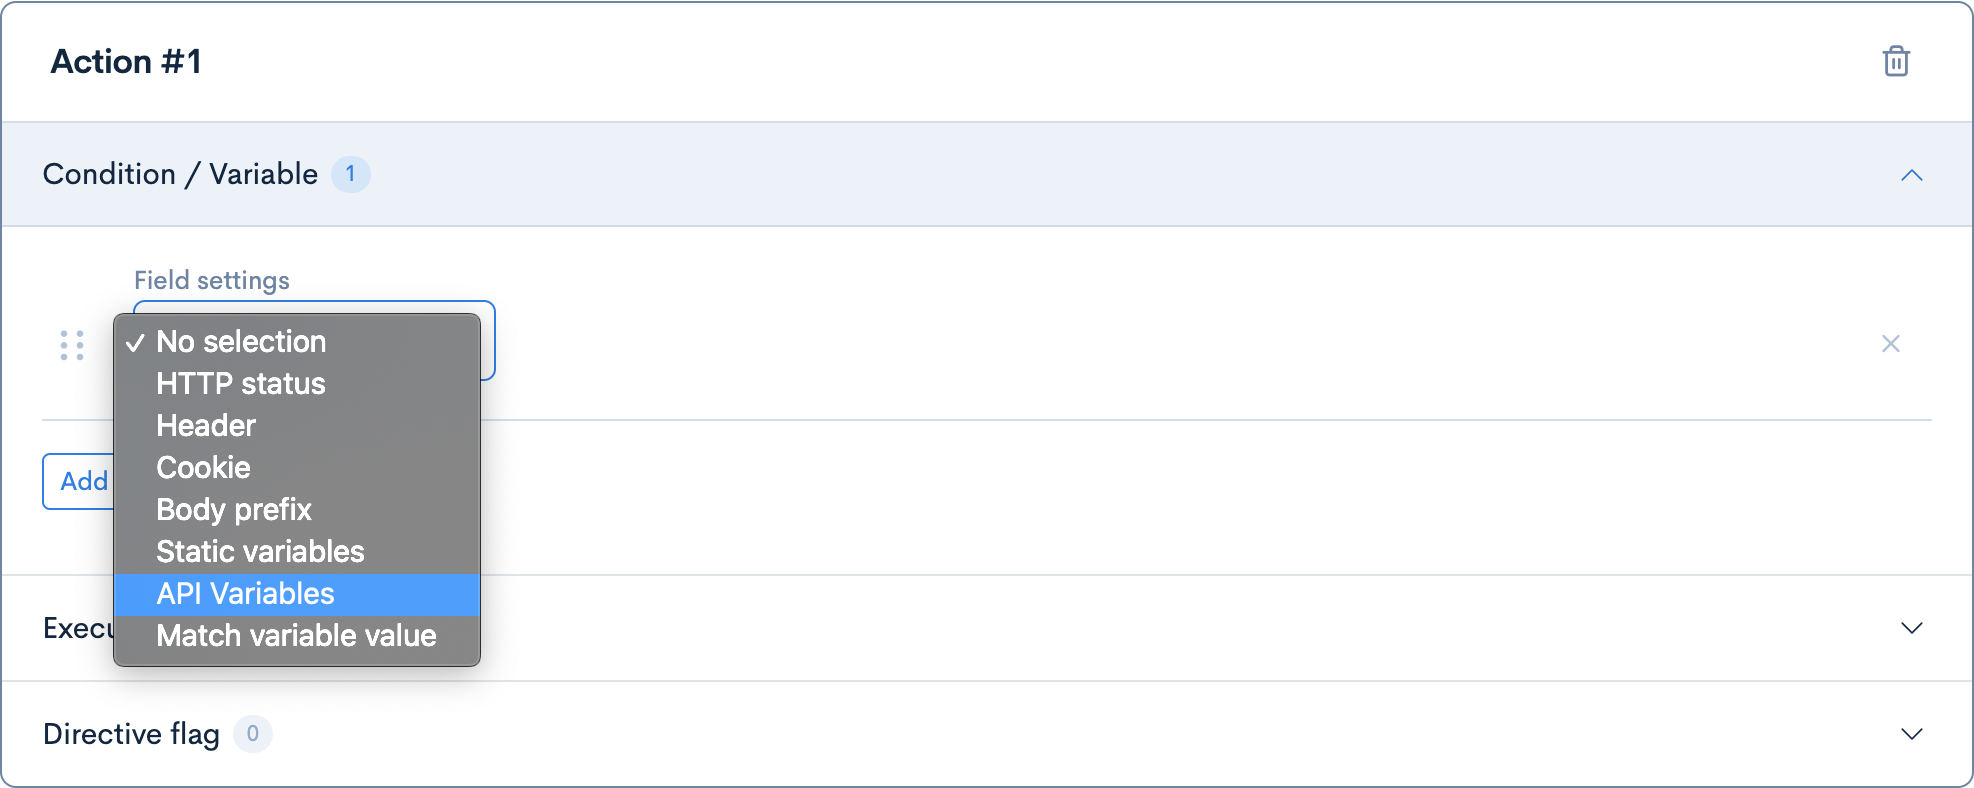
Within the 'Conditions / Variable' section of an 'Action', click [Add Field] to create a new field. In the dropdown menu that appears, select the API variable option.
Next, click the [Add API] button, then click [Edit] to configure the API variable settings in a modal popup window.
In the API Variable > Settings tab, the first step is to enter in the API endpoint you wish to use:
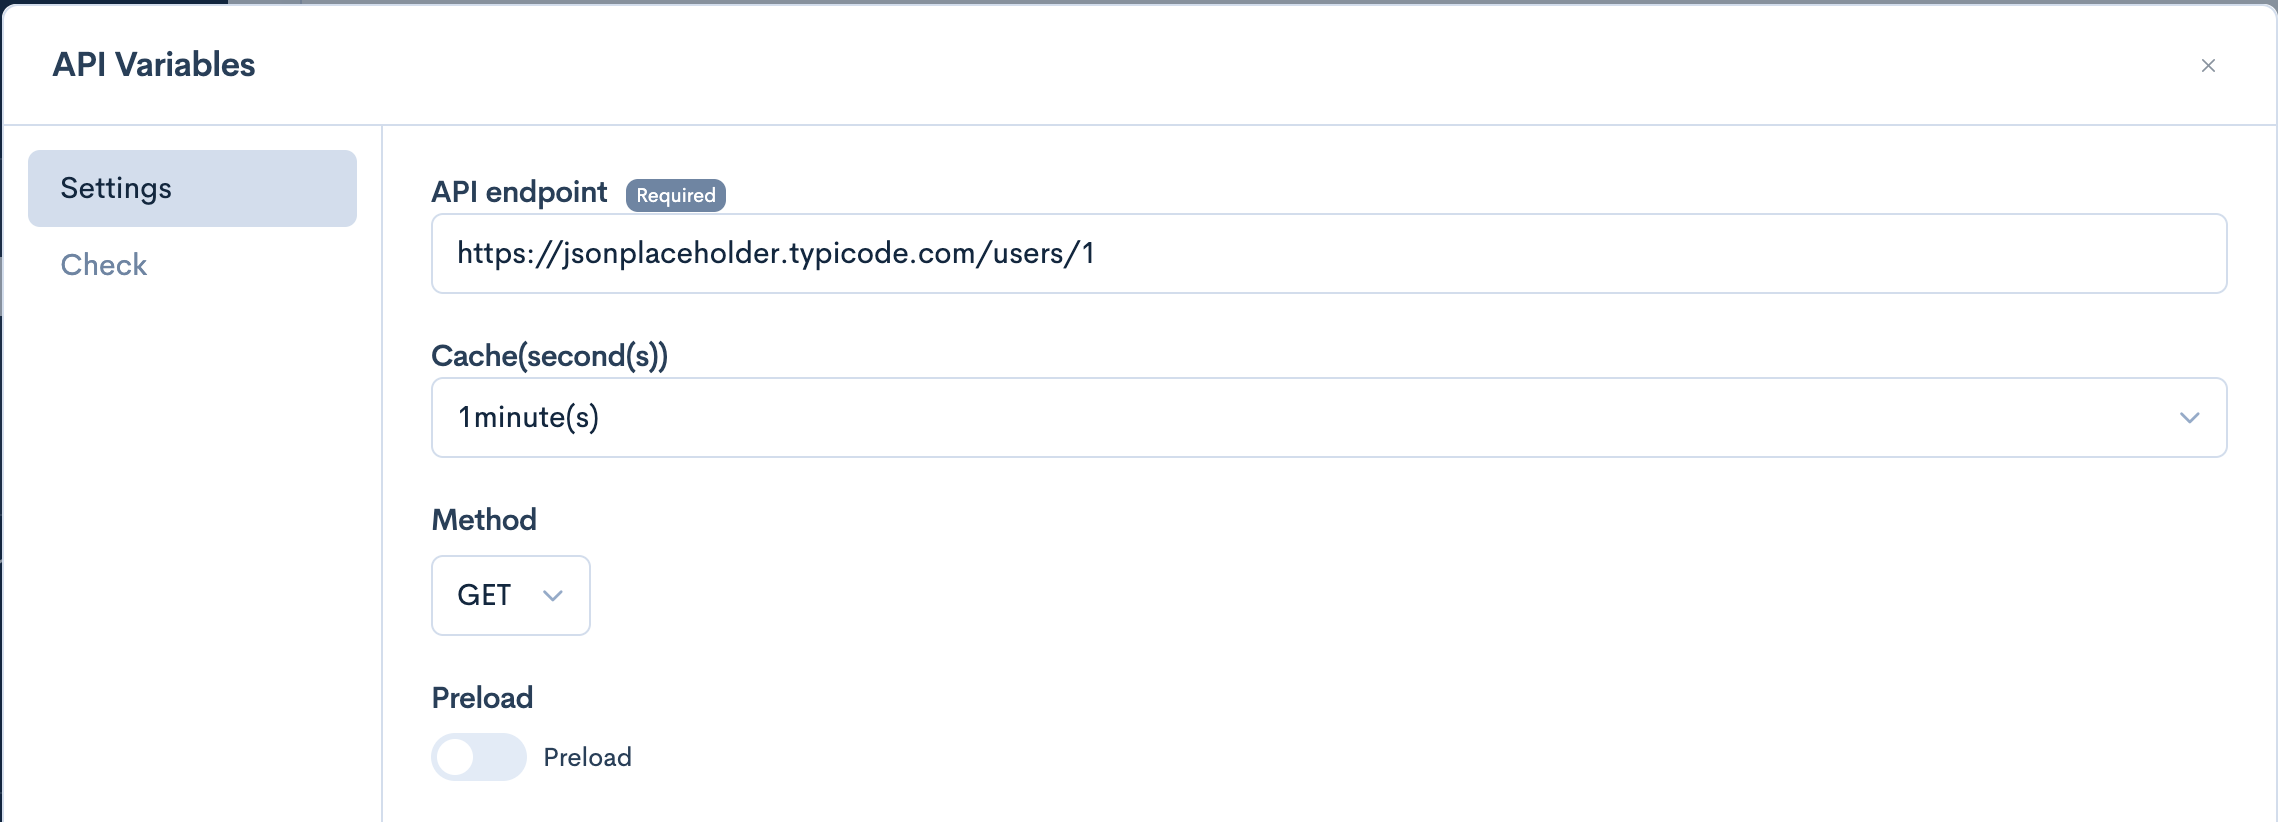
In order for this API endpoint to work as intended, it must first be added to the Backend list section (which is a 'whitelist' of backend hosts that can be used by KurocoEdge). It is important to enter it using the correct format, and not include http:// or https:// at the start of the URL.
In this tutorial, we will use the sample API jsonplaceholder.typicode.com, which is a free online API that provides dummy JSON data.
API endpoint should be an object
An important point to note is that many API endpoints will return an array of objects. A basic requirement of API variables is that the API response must be an object at the root level.
An API response with a JSON array at the root level will result in an error.
Instead of using a resource like jsonplaceholder.typicode.com/users – which will return an array of user objects – we can access a specific resource such as jsonplaceholder.typicode.com/users/1. This will return the following object for a the user with ID=1:
{
"id": 1,
"name": "Leanne Graham",
"username": "Bret",
"email": "Sincere@april.biz",
"address": {
  "street": "Kulas Light",
  "suite": "Apt. 556",
  "city": "Gwenborough",
  "zipcode": "92998-3874",
  "geo": {
    "lat": "-37.3159",
    "lng": "81.1496"
    }
  },
"phone": "1-770-736-8031 x56442",
"website": "hildegard.org",
"company": {
  "name": "Romaguera-Crona",
  "catchPhrase": "Multi-layered client-server neural-net",
  "bs": "harness real-time e-markets"
  }
}
Entering in expected variables
As we can see, one of the top-level variable names in this response object is username (with a string value of Bret).
Enter this variable name in the 'Expected variable(s)' section and rename it as desired. In our case we will rename it to renamed_username:

'API endpoint' and 'Expected variable(s)' are the only required fields in the settings for this API Variable. You can configure the remaining settings as you wish:
| Field | Settings |
|---|---|
| API endpoint | jsonplaceholder.typicode.com/users/1 |
| Cache | 1minute(s) |
| Method | 'GET' |
| Preload | false |
| Headers | |
| Expected variable(s) | 'Variable name in API response': username, 'Rename': renamed_username |
| Request cookies to be forward to the API | |
| Cookies returned by API Response for forwarding |
Configure an Action's 'Execution' settings
After configuring the settings, you can use the renamed variable (in our case renamed_username) in the 'Execution' section of our Action.
To demonstrate, we will create a new header named test_header and give it the value of our variable using standard the {$variable} notation for variables in KurocoEdge. In our case this will be {$renamed_username}:

Test if the variable is working
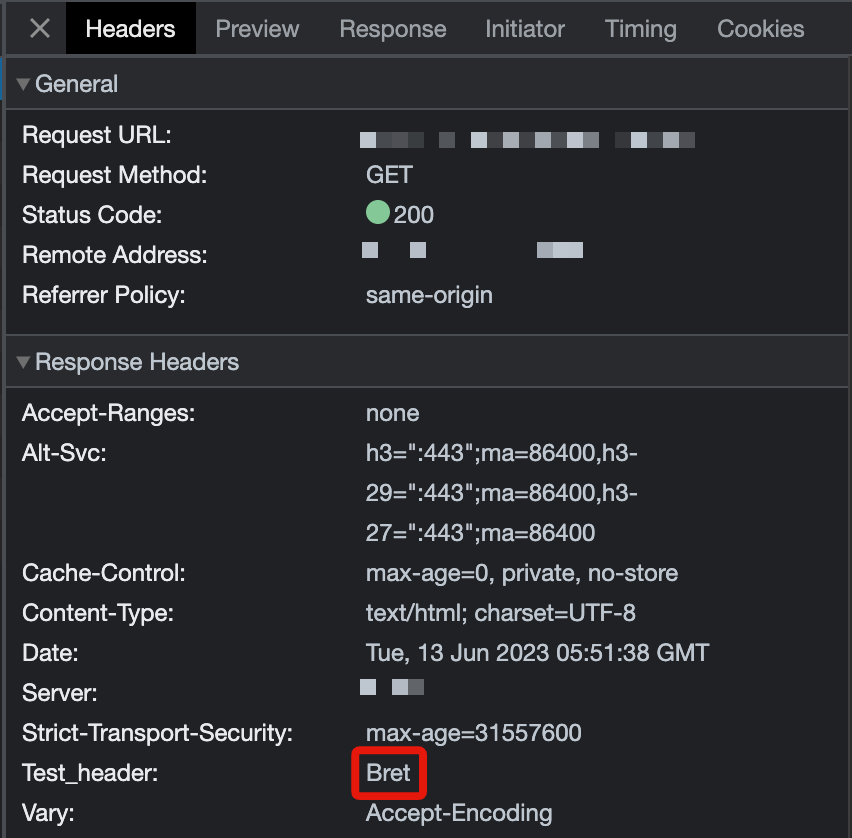
Click [Update], then [Preview], and navigate to the 'Headers' tab under 'Network' in the Developer Console of your browser, you should now be able to see the test_header in the Response Headers section, with the correct value of Bret being displayed:
Accessing nested values in an object
If the value of the API variable you have assigned is not a simple string, number, or boolean – but rather an object with nested key/value pairs – it is necessary to access these nested values using dot notation.
For example, let's look at an object address within an sample API response fetched from https://jsonplaceholder.typicode.com/users/1:
"address": {
  "street": "Kulas Light",
  "suite": "Apt. 556",
  "city": "Gwenborough",
  "zipcode": "92998-3874",
  "geo": {
    "lat": "-37.3159",
    "lng": "81.1496"
    }
  }
If we follow the same steps above, but instead rename the address value to renamed_address in the 'Conditions / Variable' section, we can access this object in the 'Execution' section of our Action, using the same {$variable} notation.
In our case, it would be {$renamed_address}. To display this variable, we can set it as the value of a header, which we will call test_header:

After clicking [Update], then [Preview], and navigating to the 'Headers' tab under 'Network' in the Developer Console in our browser, we should now be able to see the test_header in our Response headers with the value being our API Variable we named renamed_address.
However, because it is not possible to display an object as a value for a header, it would show the value {$renamed_address} as a string instead:
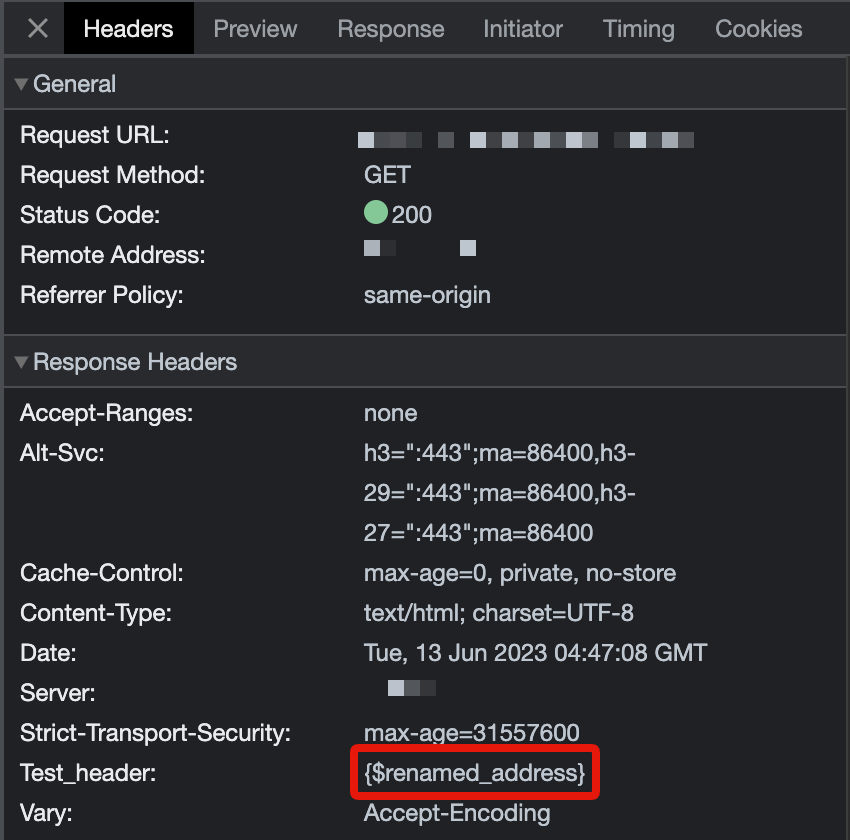
This is not our intended usage, but merely to demonstrate what will happen. In order to instead access nested values within the renamed_object variable, we need to return to the 'Execution' tab in the 'Action', and use dot notation.
If we want to access the nested value of street (within the address object), we can once again update the variable name to {$renamed_address.street}:

After clicking [Update] and refreshing our page in Preview mode in the browser we should see the correct value displayed (in our case the value of address.street is the string Kulas Light):
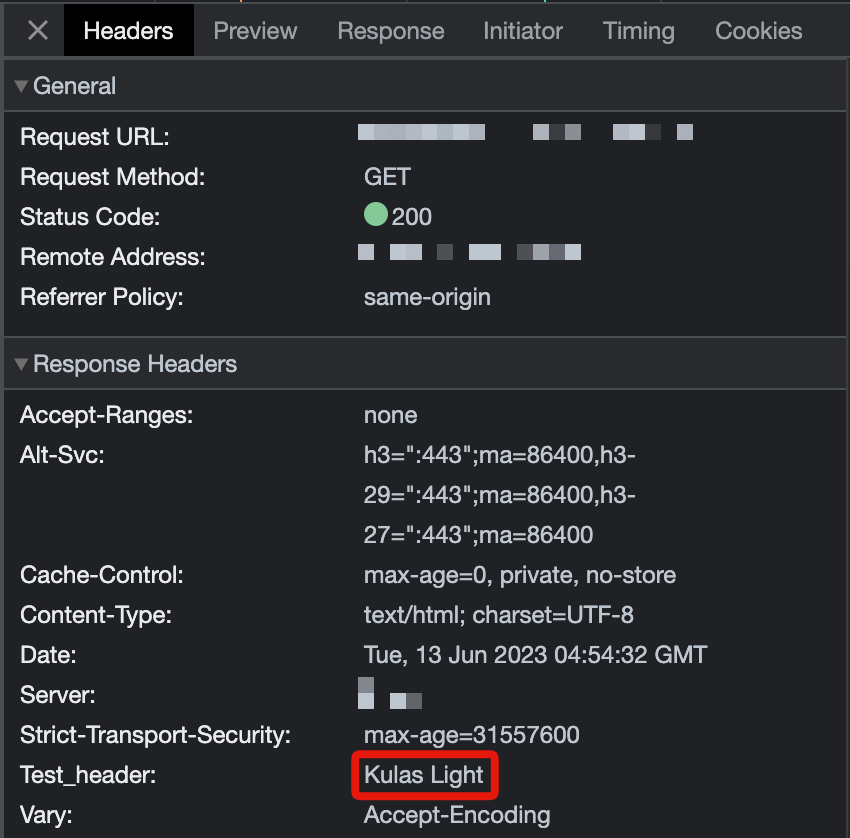
This confirms that the intended value is being displayed properly and is now working in our Action as intended.
The root level element should be an object, however nested elements might be JSON Arrays. Navigating the arrays is possible using .n notation. For example, to get the first user's name of the API response below, we would write {$users.0.name}, which would display John (considering users has been set as Expected Variable)
"users": [
  {
    "name": "John"
  },
  {
    "name": "Maria"
  }
]
Related documentations
Support
If you have any other questions, please contact us or check out Our Discord Community.