Using variables in KurocoEdge – Static variables
Overview
KurocoEdge allows you to define static variables within a Rule's Action. These static variables can be reused within the Action's 'Execution' section, with the {$variable} syntax.
What You Will Learn
- Where to define a static variable
- Configure an action's 'Execution' settings
- Test if the variable is working
Where to define a static variable
First, select a draft deployment of your choice for this rule setup.
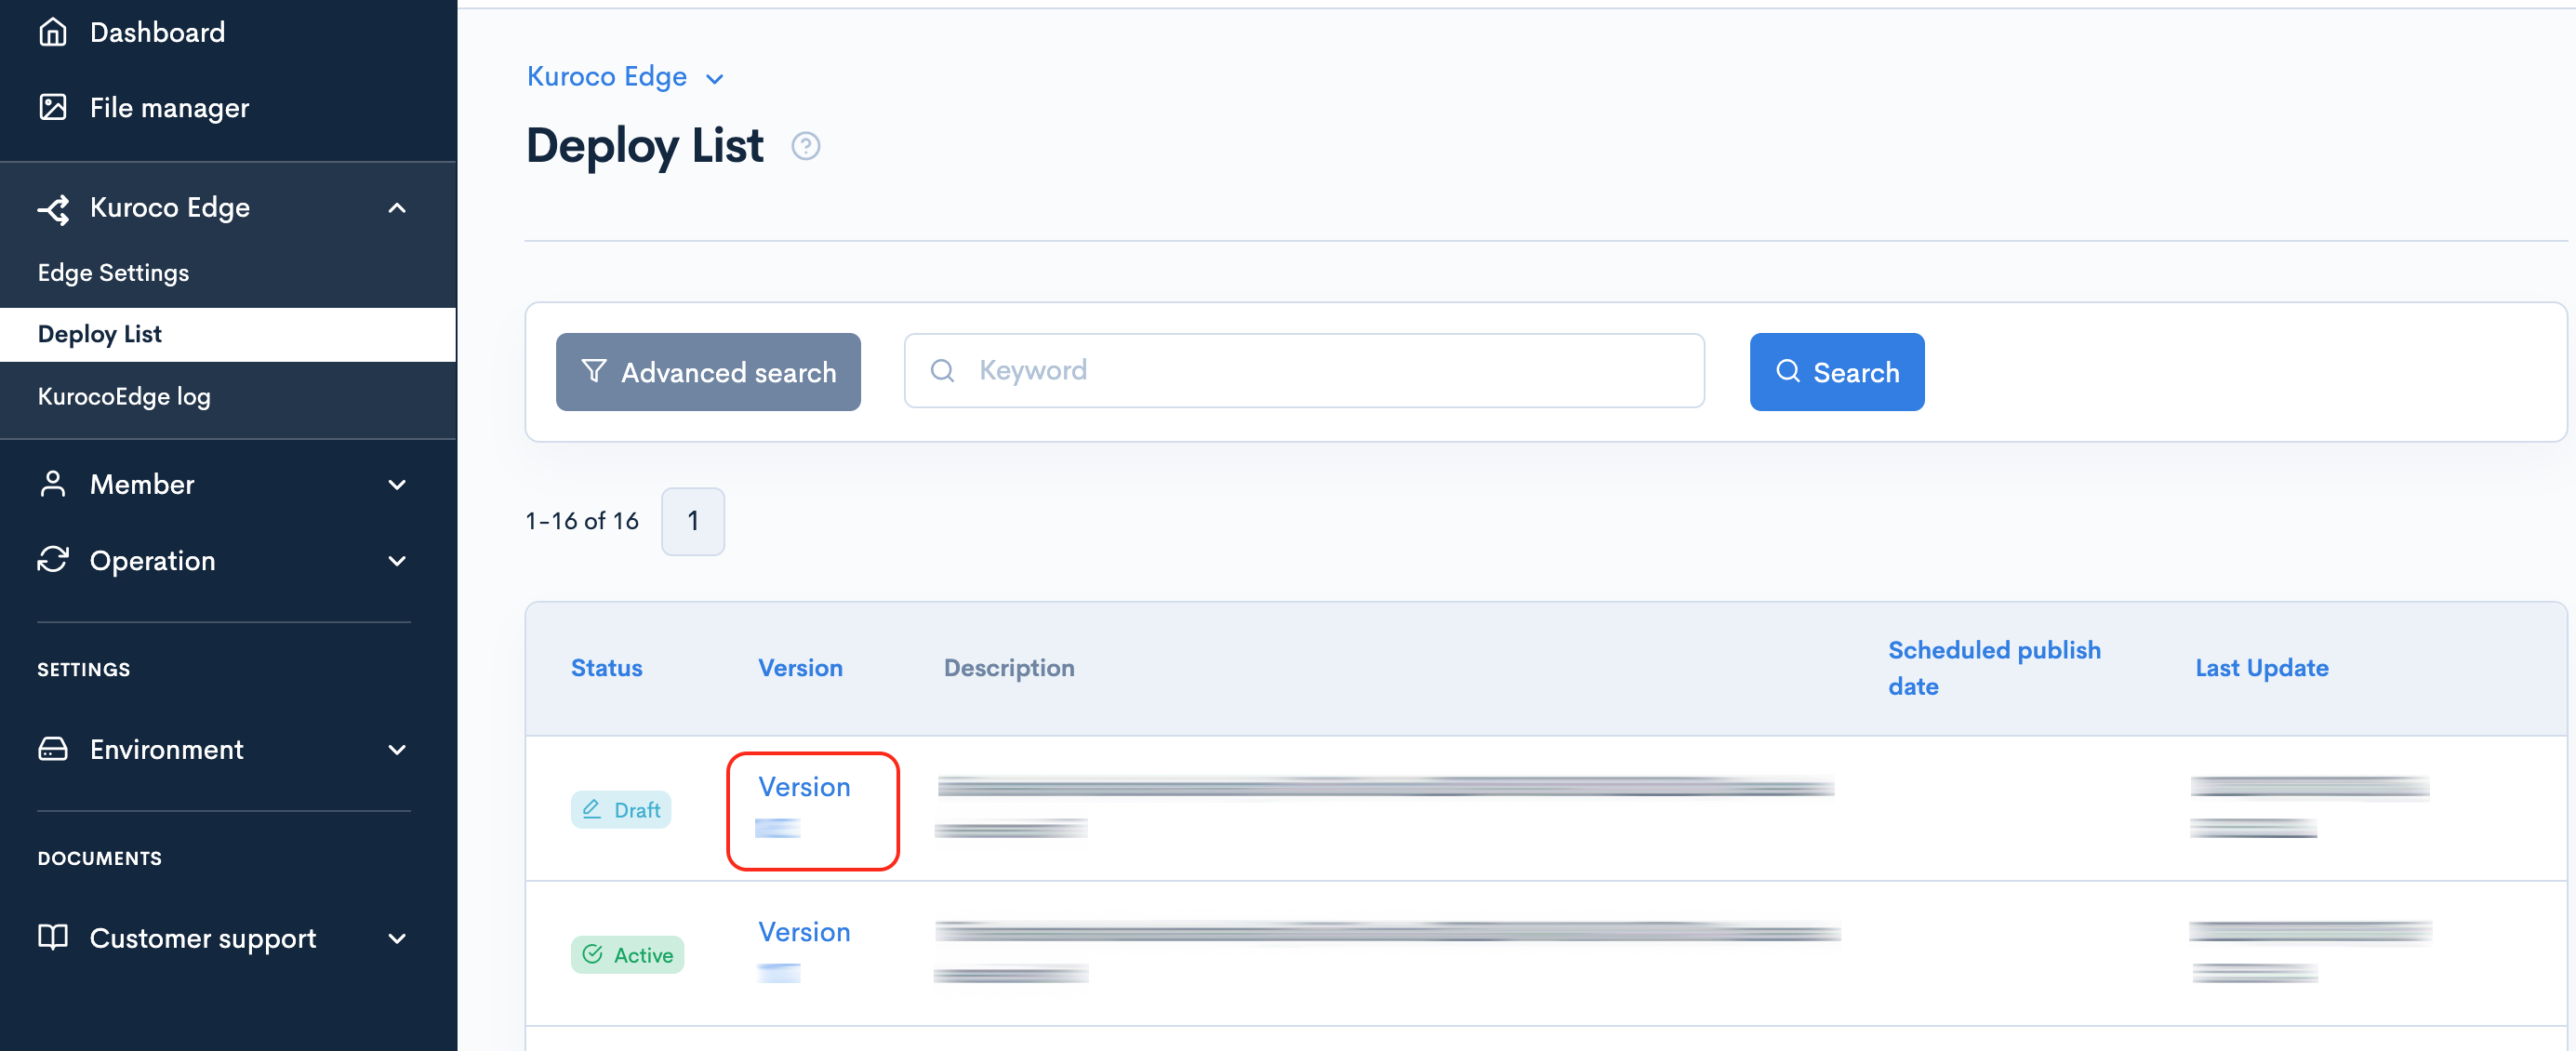
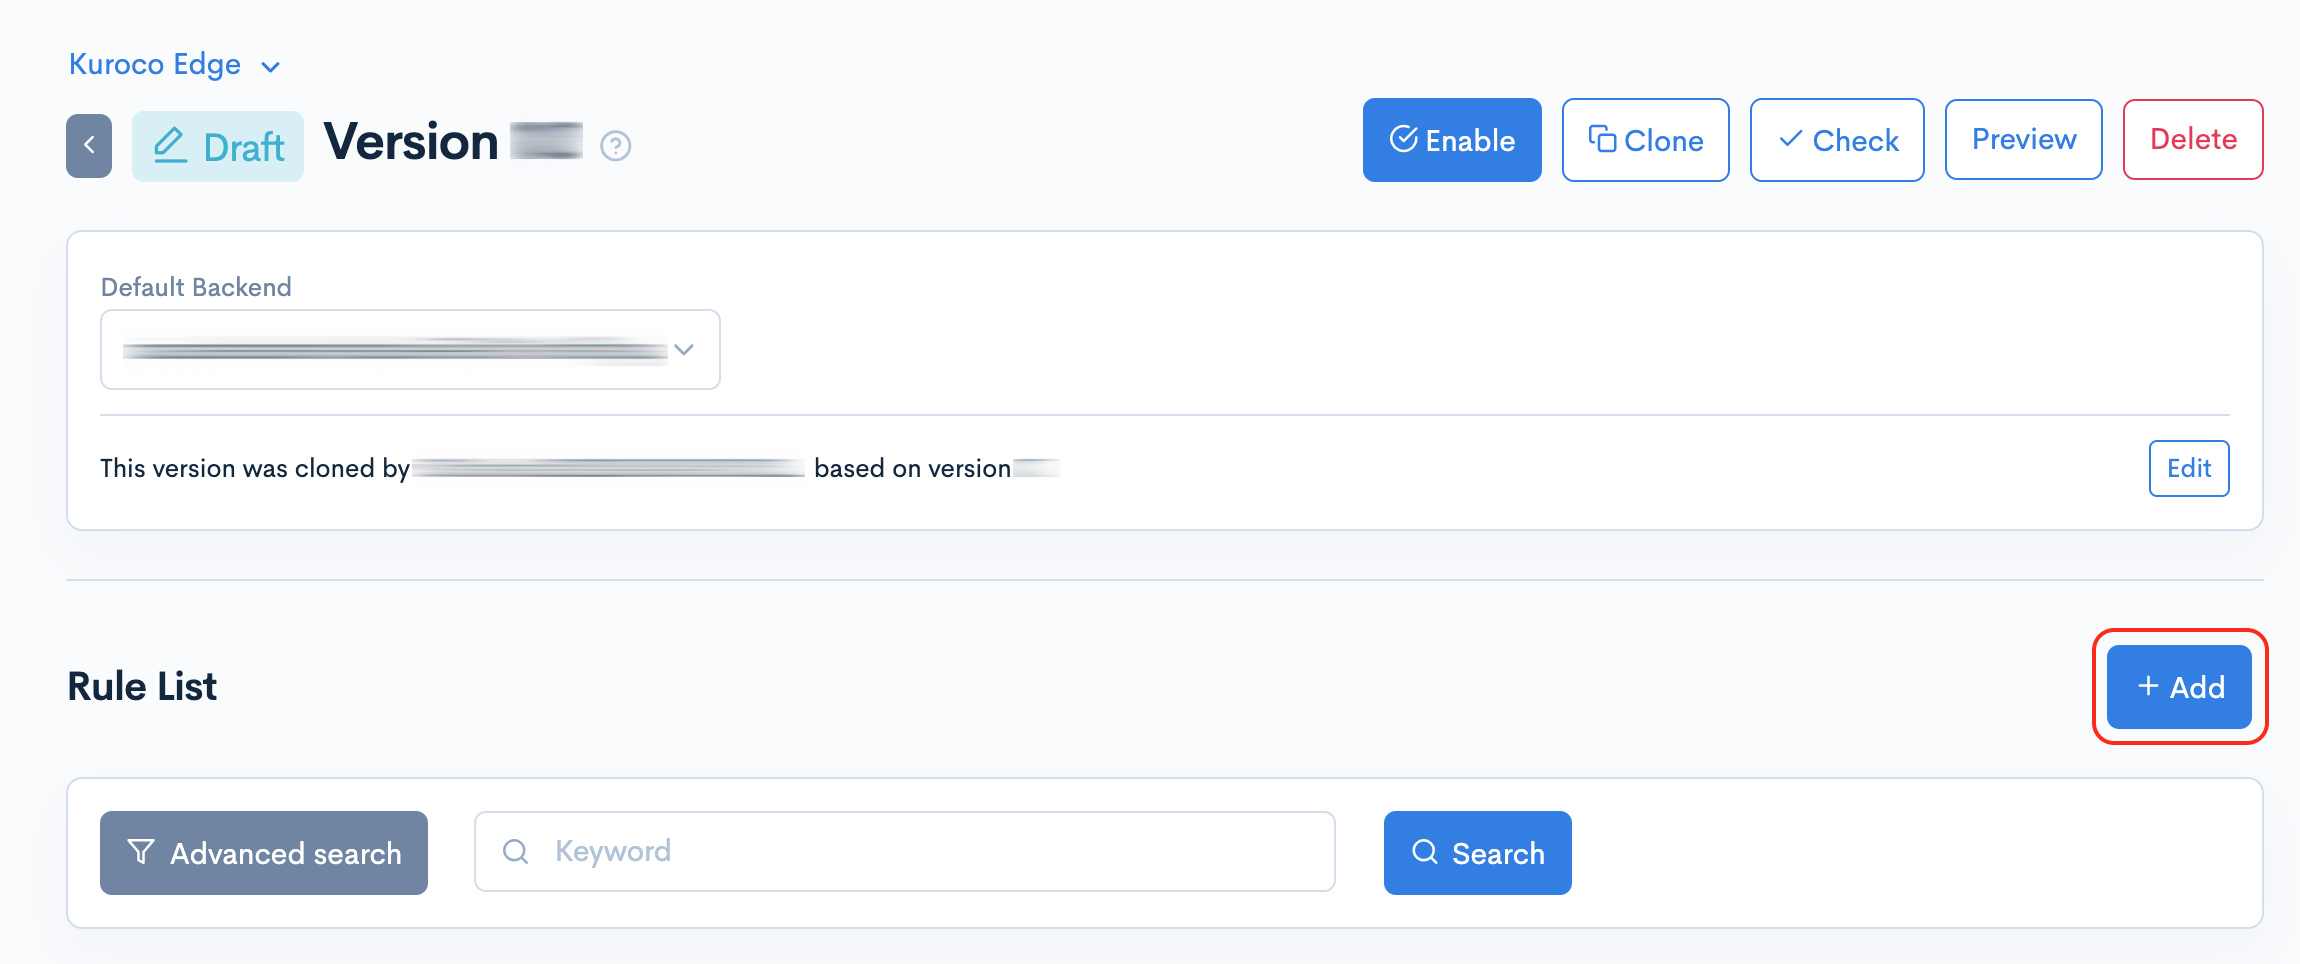
In the deployment editor page, click the [Add] button (or, select an existing 'Rule ID' for which you want to define the static variable).
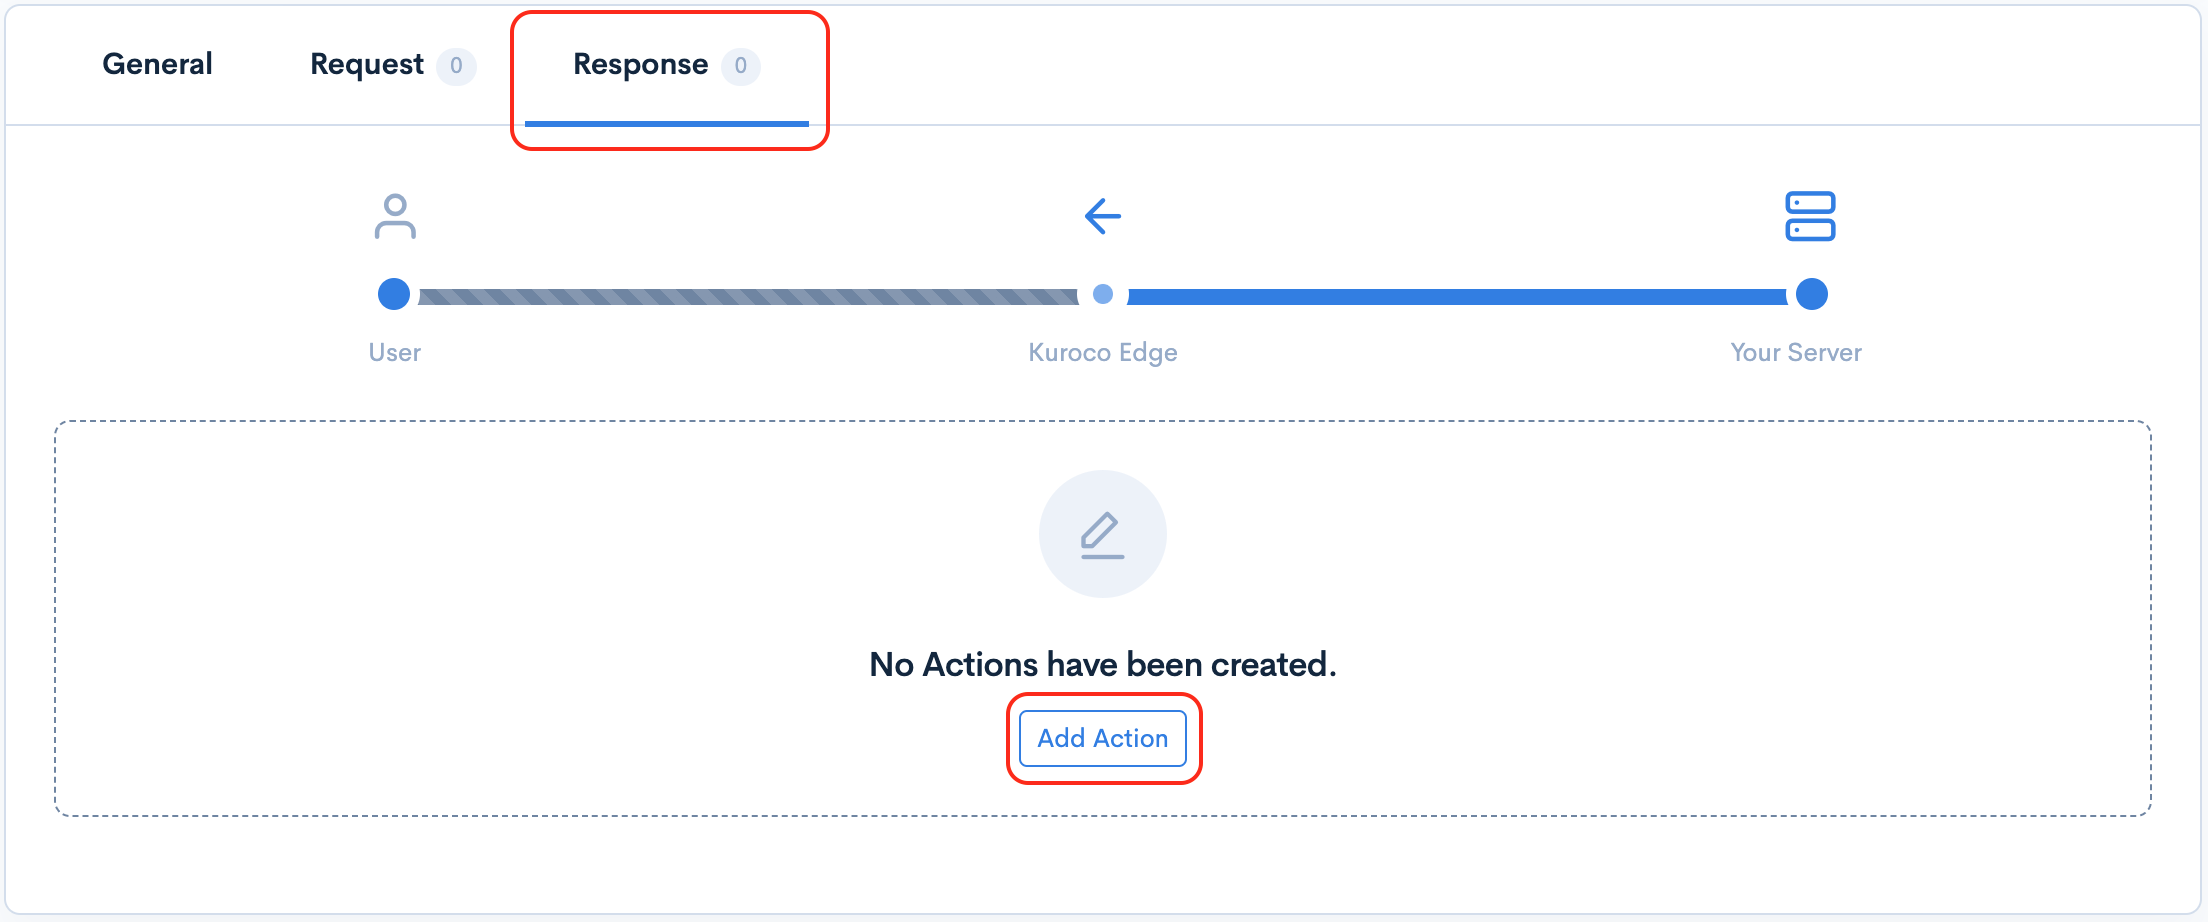
For the purposes of this tutorial, we are going to create a static variable in the 'Response' section, which will be used in a dummy header later to test that the variable is being captured properly.
Next, click on [Add Action] in the 'Response' tab.
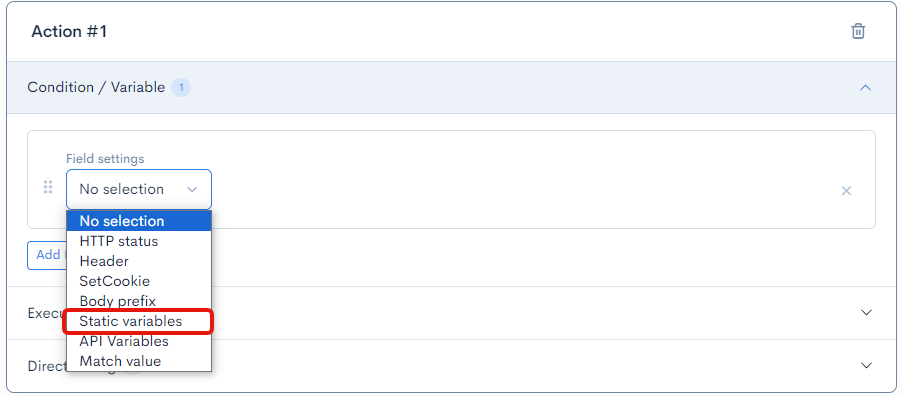
Within the action, expand on 'Condition / Variable' to expand this section.
Click 'Add Field' to add the new field for our static variable.
You will be shown a list of options in a dropdown – select the Static variables option.
This will display the Name and Value fields for the static variable.

Next, you must choose a name (string) and value (string), and enter them into their respective fields.
You can use lowercase, camelCase, kebab-case – or whichever other string format works best for your needs.
| Field(s) | Settings |
|---|---|
| Name | my_static_variable |
| Value | test_value |
For demonstration purposes, we will create a dummy variable with the name of my_static_variable and a value of test_value.

Click the [Update] button at the bottom of the screen to save your changes.
Configure an Action's 'Execution' settings
Now that we have defined our dummy static variable (my_static_variable with a value of test_value), we can use it in our Action's 'Execution' section. The 'Execution' section is where variables are currently intended for use within KurocoEdge.
With the exception of the 'Match' option in 'Conditions / Variable' section of the action, it is not currently possible to use static variables as values of other Conditions. Variables should be used in the 'Execution' section of the Action.
For this tutorial, we will test our variable out by passing it in as the value of a new Header that we will create in our Action's 'Execution' section. To do this, first click on the 'Execution' tab to expand it, then click 'Add Field', then select 'Header' from the dropdown's list of options.

Select the Set operation for the new header.

In the Name field you can enter in the name of the new header that you wish to create. If you click on the empty field, you can choose from a variety of common header names that are auto-generated suggestions. For the sake of this tutorial, we will be creating our own custom dummy header called StaticVariableHeader to correspond with the name of the variable we created above.
Next, add your new variable into the Value field using the {$variable} syntax.
For the header's value, if you only add in the name of the variable without using the curly braces and dollar sign syntax, it will not call the variable you previously defined. In the case of our example it is necessary to enter in the variable as {$my_static_variable} into the header's value field.

Click the [Update] button at the bottom of the screen to save your changes.
Test if the variable is working
Now that we have created a new a header, we can test to see if the value of the static variable we previously created was passed into the header's value.
Open the site in your web browser with development tools enabled, navigate to the 'Network' section, and reload the page – you should now see your new header (named staticvariableheader) appear in the 'Response Headers' section (with a value of test_value – which is the same value as the static variable we created earlier).
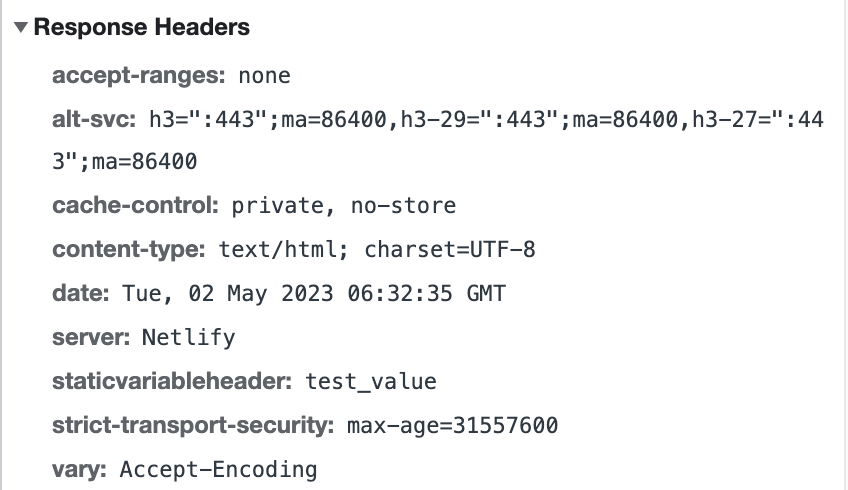
If the new header's value matches the static variable's value, it means that it was successfully created and its value was passed into the Action's 'Execution' section as intended.
Support
If you have any other questions, please contact us or check out Our Discord Community.