Setting up IP restrictions
Estimated Time: 10 minutes
Overview
In KurocoEdge, you can whitelist and blacklist IP addresses for the entire website or for specific webpages.
In this tutorial, we will go through the steps to set up IP restrictions on your website using KurocoEdge.
What You'll Learn
How to set up IP address blacklists and whitelists in KurocoEdge.
IP address blacklist setup
Select a draft deployment and add a rule by clicking the Add button.
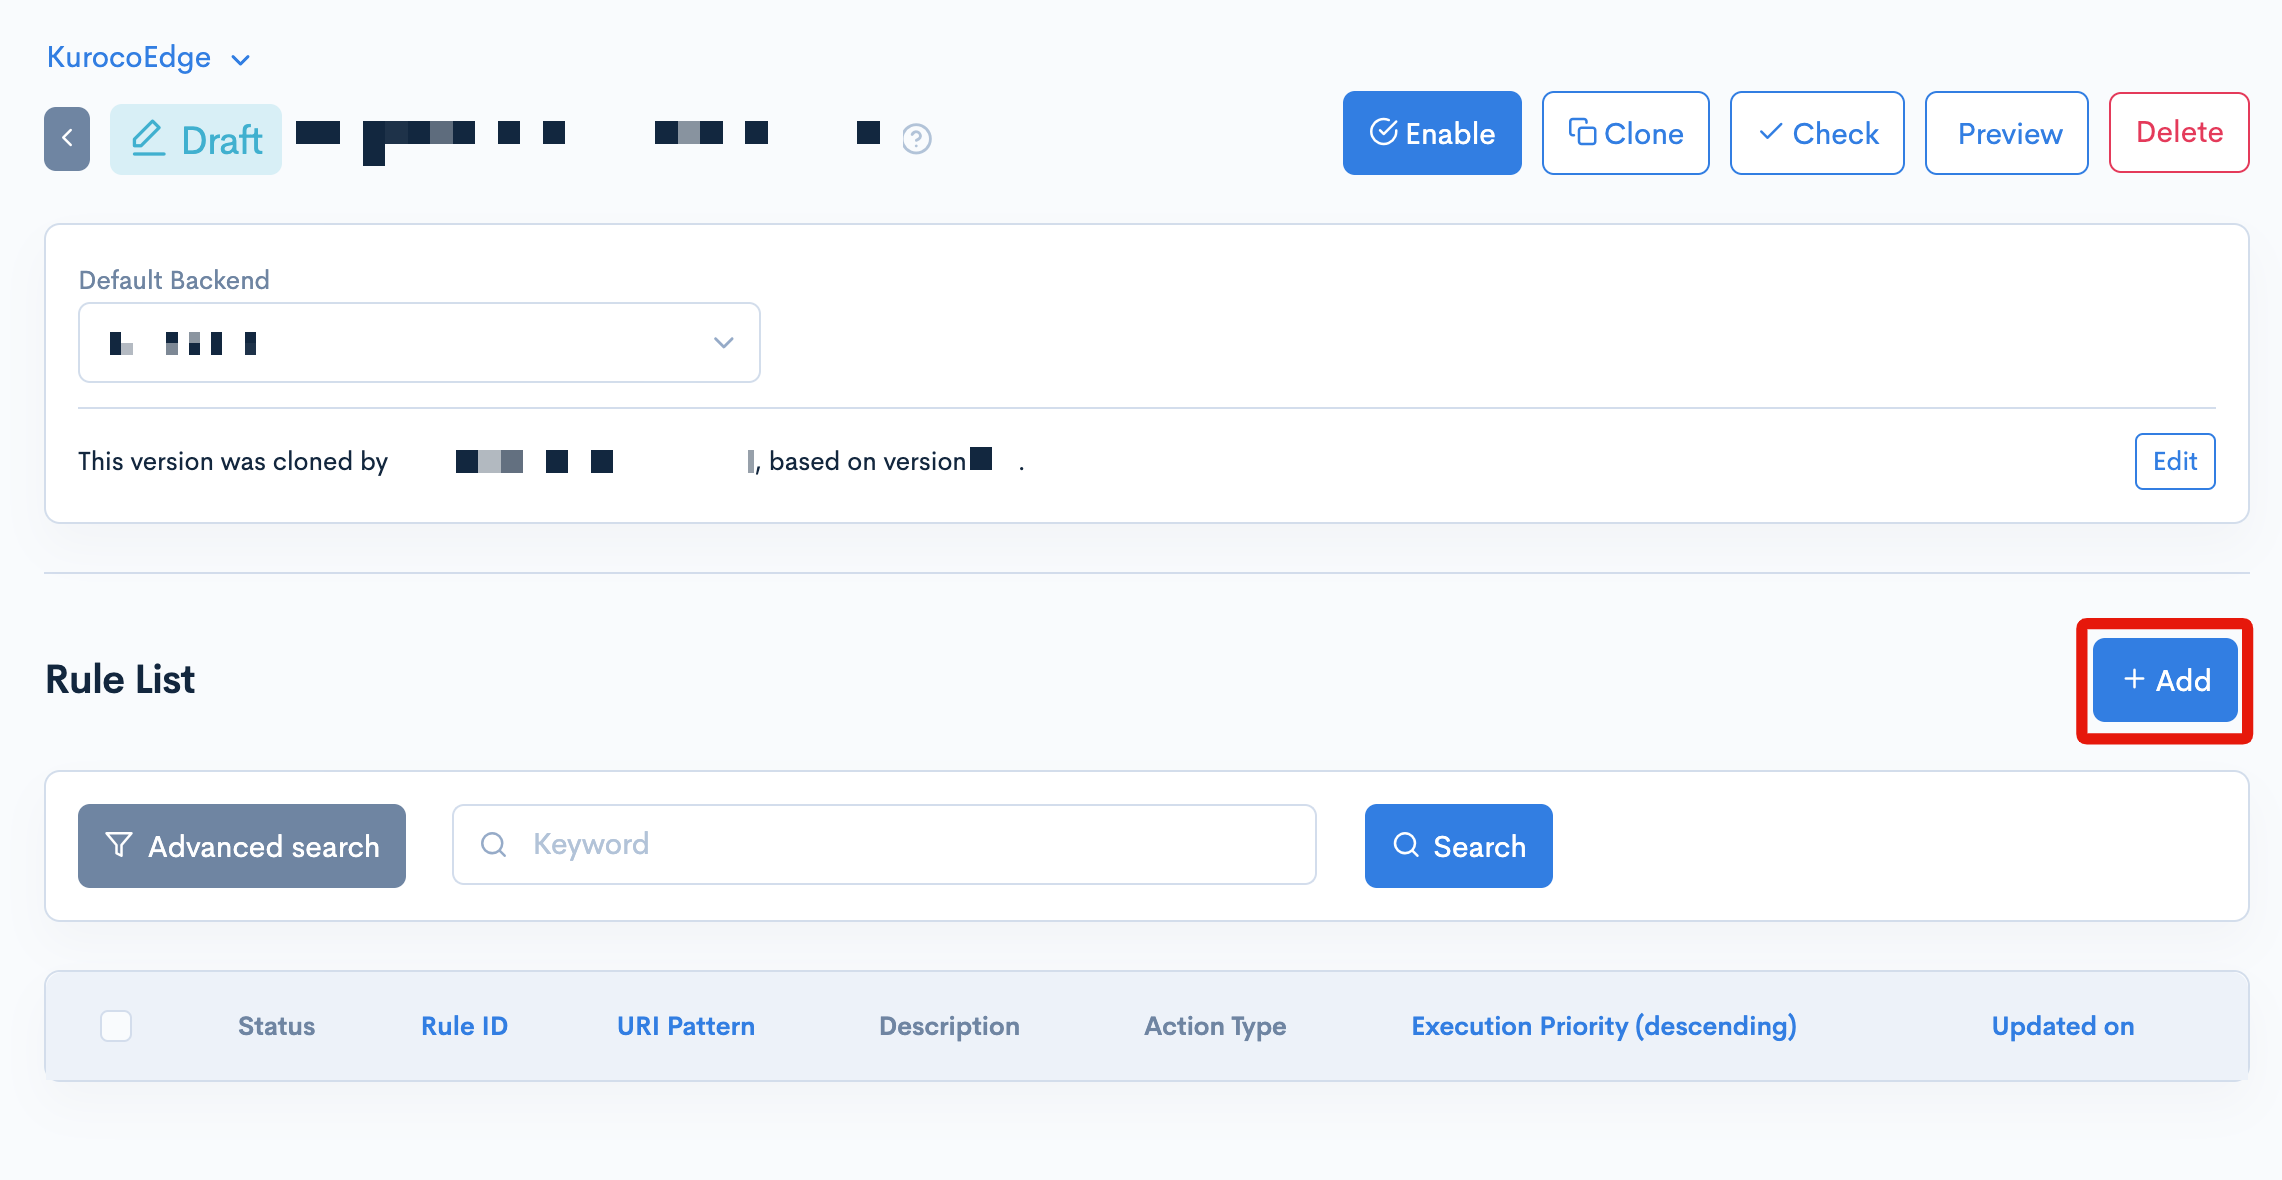
To keep it simple, we will leave the URL path pattern settings as default, which means the rule will be applied to the entire webpages of the selected backend.

Using the URL path pattern settings, you can set up rules that would only affect specific pages.
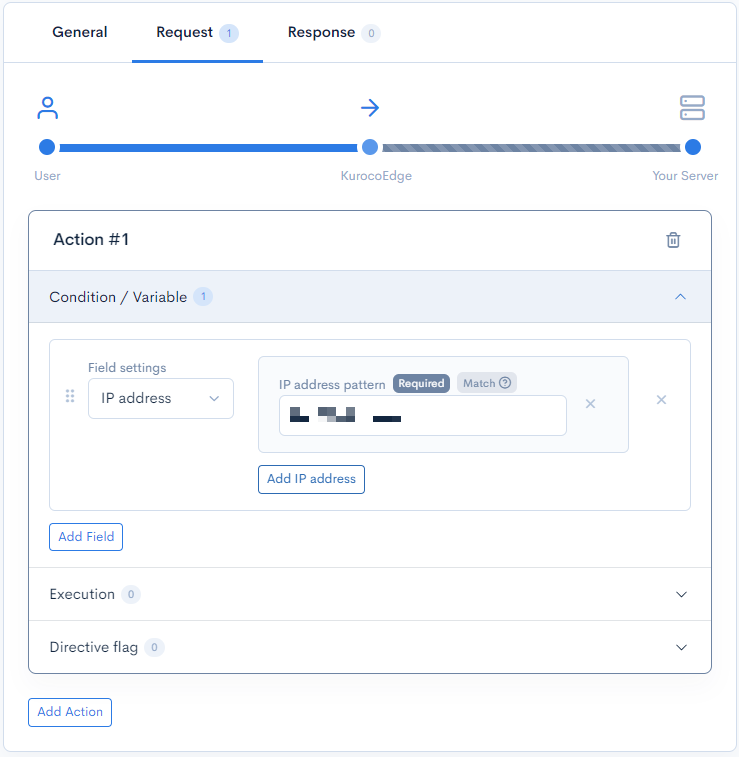
Click on rule's the Request tab, then click the Add Action button to create a new action. Expand the Condition / Variable tab and click the Add Field button.

In the Field settings selection, select the IP address field and add your own IP address.
You can identify your IP address easily from the Edge settings page.
Now that the condition has been specified, we have to add an Execution action to specify what should happen when the condition is met. To do this, add a new field in the Execution tab.
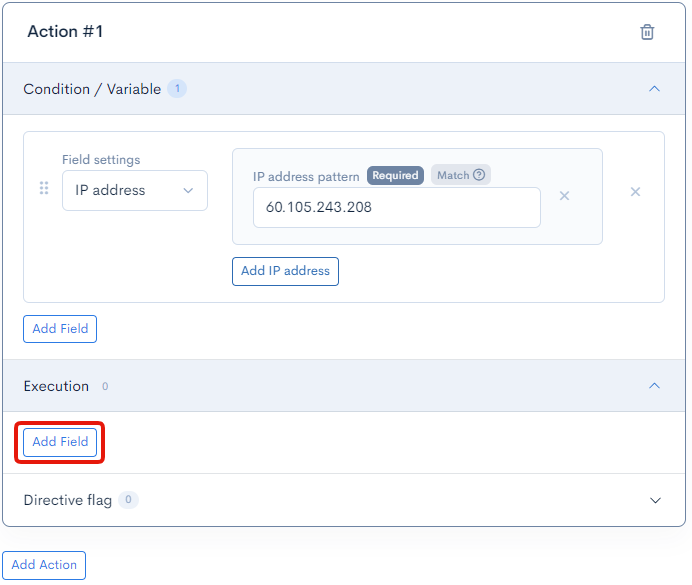
In this blacklist setup, we want to redirect users to an "Unauthorized access" page. To do this, we will use the Synthetic response field.
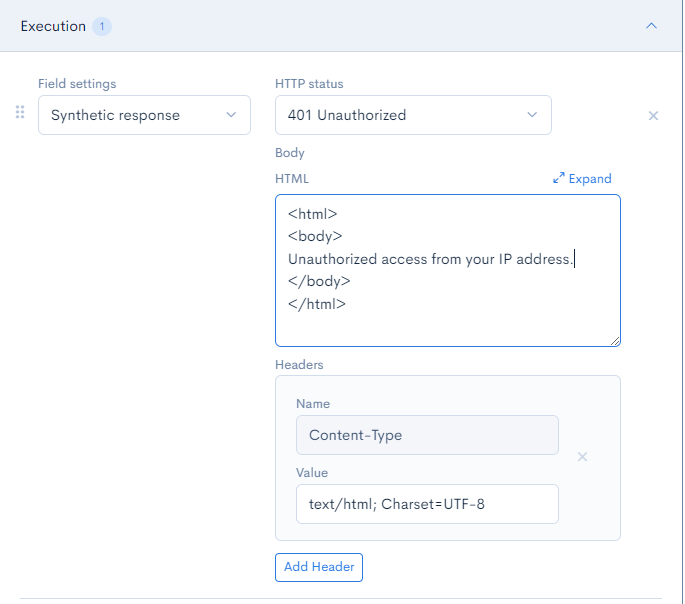 Select the
 401 Unauthorized HTTP status and modify the HTML body to display the text that you would like to show.
Click the Update on the bottom left of the page to save your changes.
Verify the rule is working by clicking the Preview button on the top right of the page.
You should see the HTML body text displayed
IP address whitelist setup
The setup above specifies an IP address and redirects the user to a custom HTML page with the 401 Unauthorized HTTP status if they are accessing from the specified address.
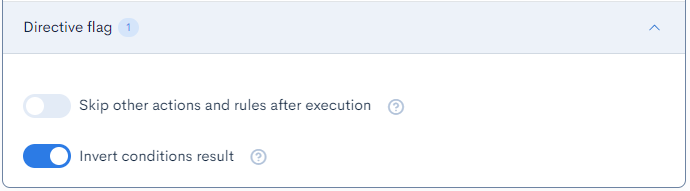
In this section, we will use the Directive flag to reverse the condition and set up a IP address whitelist instead, to only allow the speicifed IP address to access the website.
By enabling the Invert conditions result, any access from IP addresses not specified in the IP address field in the Conditions / Variable tab will be redirected to the custom 401 unauthorized HTML page.
Summary
By following this tutorial, you've learned how to set up basic blacklist/whitelist IP address access to your website using KurocoEdge, with no source code changes required on your server.
Support
If you have any other questions, please contact us or check out Our Discord Community.